As for the house this is what has been accomplished. At the beginning of the month I prepared the door jambs for the 5 interior doors. These door jambs are made from poplar lumber and will have three hinges per door as I am going to build poplar 5 panel doors for inside the house. Once they had been cut to size and the hinge recesses routed out we brought them inside and painted them. After they were painted we installed them on the Victoria day weekend which was 23 May. Here is a picture of the jambs installed.

I also spent some time at the end of last month building and installing a couple of small triangular shelves that fit into two corners in the living room. Later on I plan on installing a full length shelve above the windows as well for knick knacks. Here are two pictures one showing a close up of two shelves the other a shot of both corners showing the placement of the two shelves.


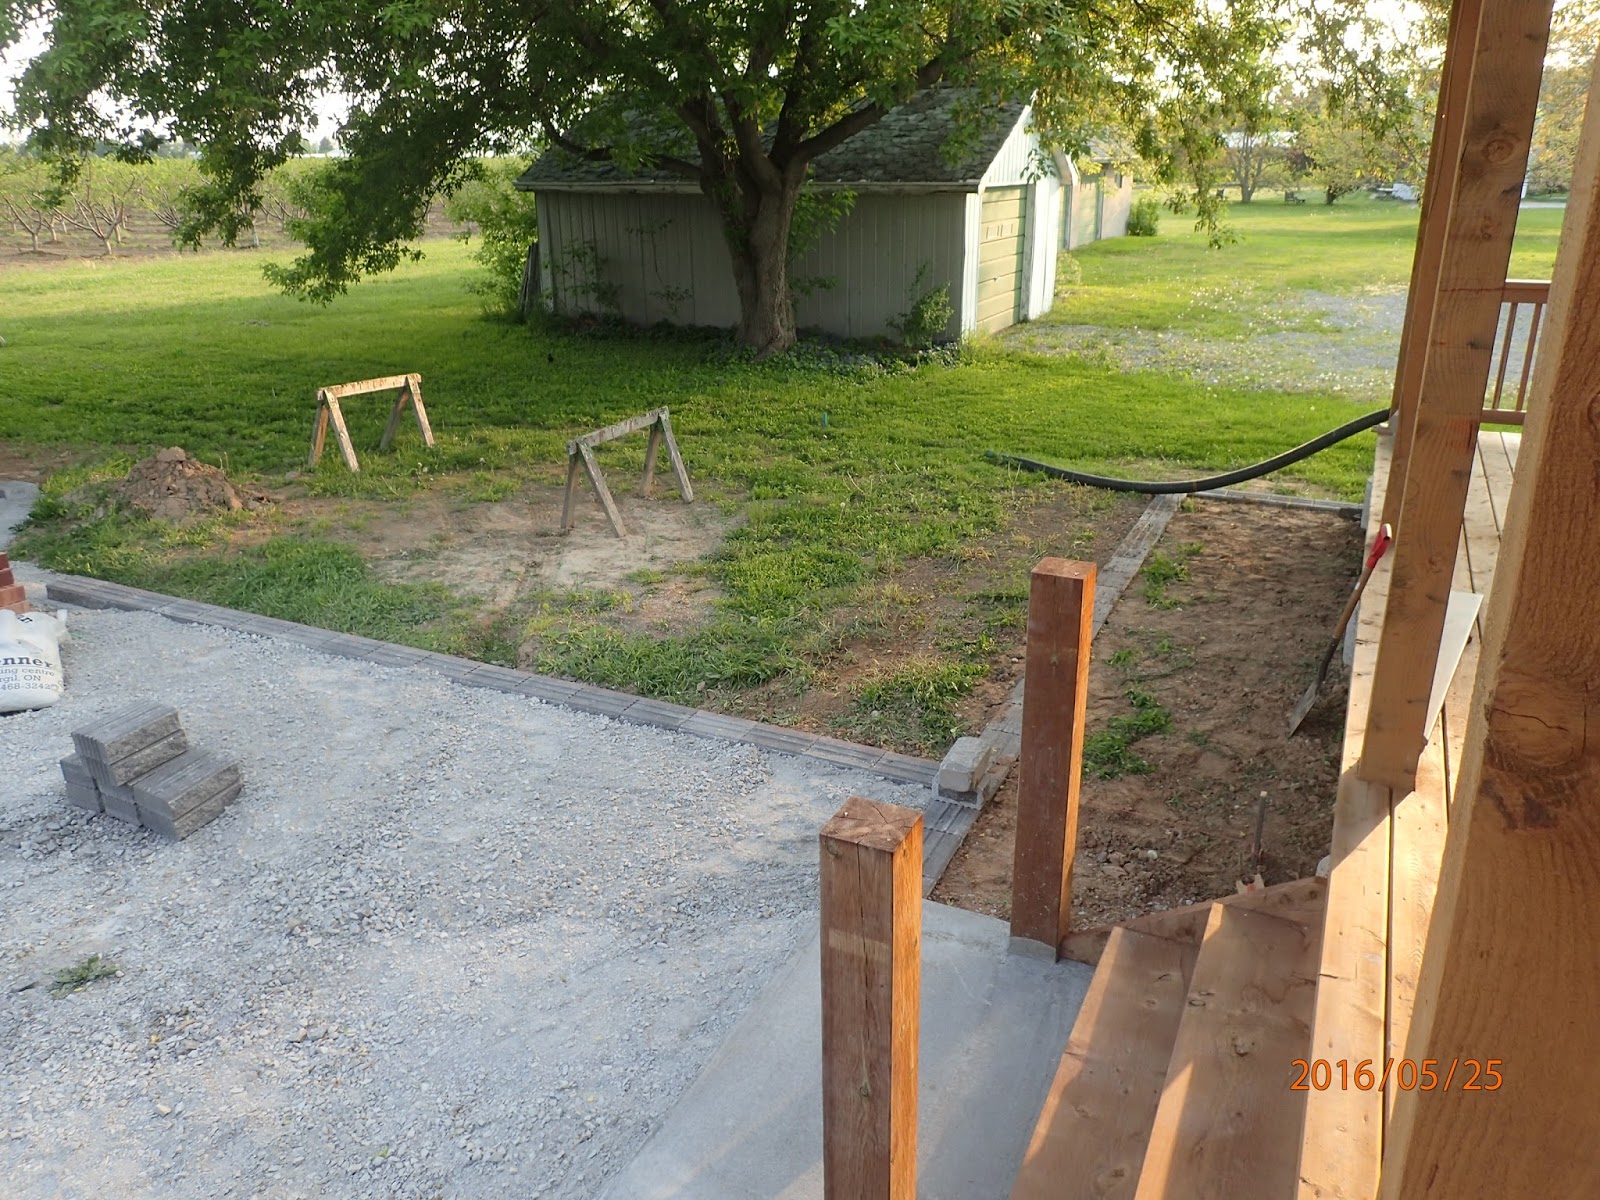
I next moved outside and continued working on the small retaining walls that go around the house and along one side of the garage to create walkway to the shed at the back of the garage. These walls are made up of what is called Wallstone and it consists of concrete bricks about 12"L by 4"H by 8"W. There is a base stone and then a capstone that sits on the base stone. These will provide a nice barrier and delineation between the grass and the house and the driveway and the grass. I finished the one on the east side I started last month and then I cleaned out the trench for the garage portion which had been started last year. Once these were done I dug out the trench along the back of the house and along the edge of the driveway connecting the back wall to the garage walkway wall. At the same time I dug out the area where I would be putting a pad for the stairs to the back deck. Once this was done I bored a couple of holes and installed pressure treated 6by6 timbers for newel posts for the stairs.I then placed compacted gravel in the pad and built a form for the concrete pad. After this was poured and cured we started installing the wall blocks along the back of the deck connecting the east and west portions already there. Once that was done we laid the wall between the back wall and the garage walkway wall. After they were all installed we went along and backfilled the walls with dirt on one side and gravel on the other side. The dirt between the back wall and the deck area was carefully tamped and sloped away from the house. This should help keep water away from the house and direct it towards the swale along the west side of the house. Here are some pictures showing the progress. First is completed east side, then the garage walkway. Third is the back trench with pad area. Fourth is the newel posts and pad poured with the next one showing part of the back wall. Sixth and seventh show the completed first layer. As mentioned a second layer will go on top and then we'll continue working on grading the gravel and dirt upto the walls.


Between this all we also took some time to build the railing along the west side of the back deck. This railing needs to be built to code as the deck is more than 24" above the ground. This railing is made of clear cedar 2by4's with a top rail 2by6 and then 2by2 spindles. The spindles are 3.5" apart which is just a little closer than the code required 100mm. Here are two pictures of this railing. The second is a bit of a closeup showing the clips used to hold the railing in place.


Until next time keep cool and watch out for sunburns.
Harold