Saturday, 28 November 2015

Lower Kitchen cabinets are getting closer to completion

Well things have progressed, maybe not as fast as I would like but sometimes you need to take your time. Especially when custom building things. Each item needs to be custom fitted and this all takes time. What do they say "you can't rush a good cook", well maybe I'm not a great cook, but I'm not starving either. So lets get on with it and see what we did this week.

On Sunday we finished the board and batten on the side porch. The only thing left to do is give it a coat of Thompson's water seal. However this will need to wait until next year as I don't think we'll have the weather to properly paint a coat on it. After this was done we spent some time cutting out the shelves that we still needed to make for the upper units. As well I cut out some solid cherry to face the plywood shelves. Lastly we spent some time sanding down the lower cabinet carcass after we'd filled in the nail holes. I was hoping to get this done but for some reason I broke two sanding belts for the belt sander and did not have another replacement. Oh well we'll buy some more on Monday at work. Here is a picture showing the board and batten.


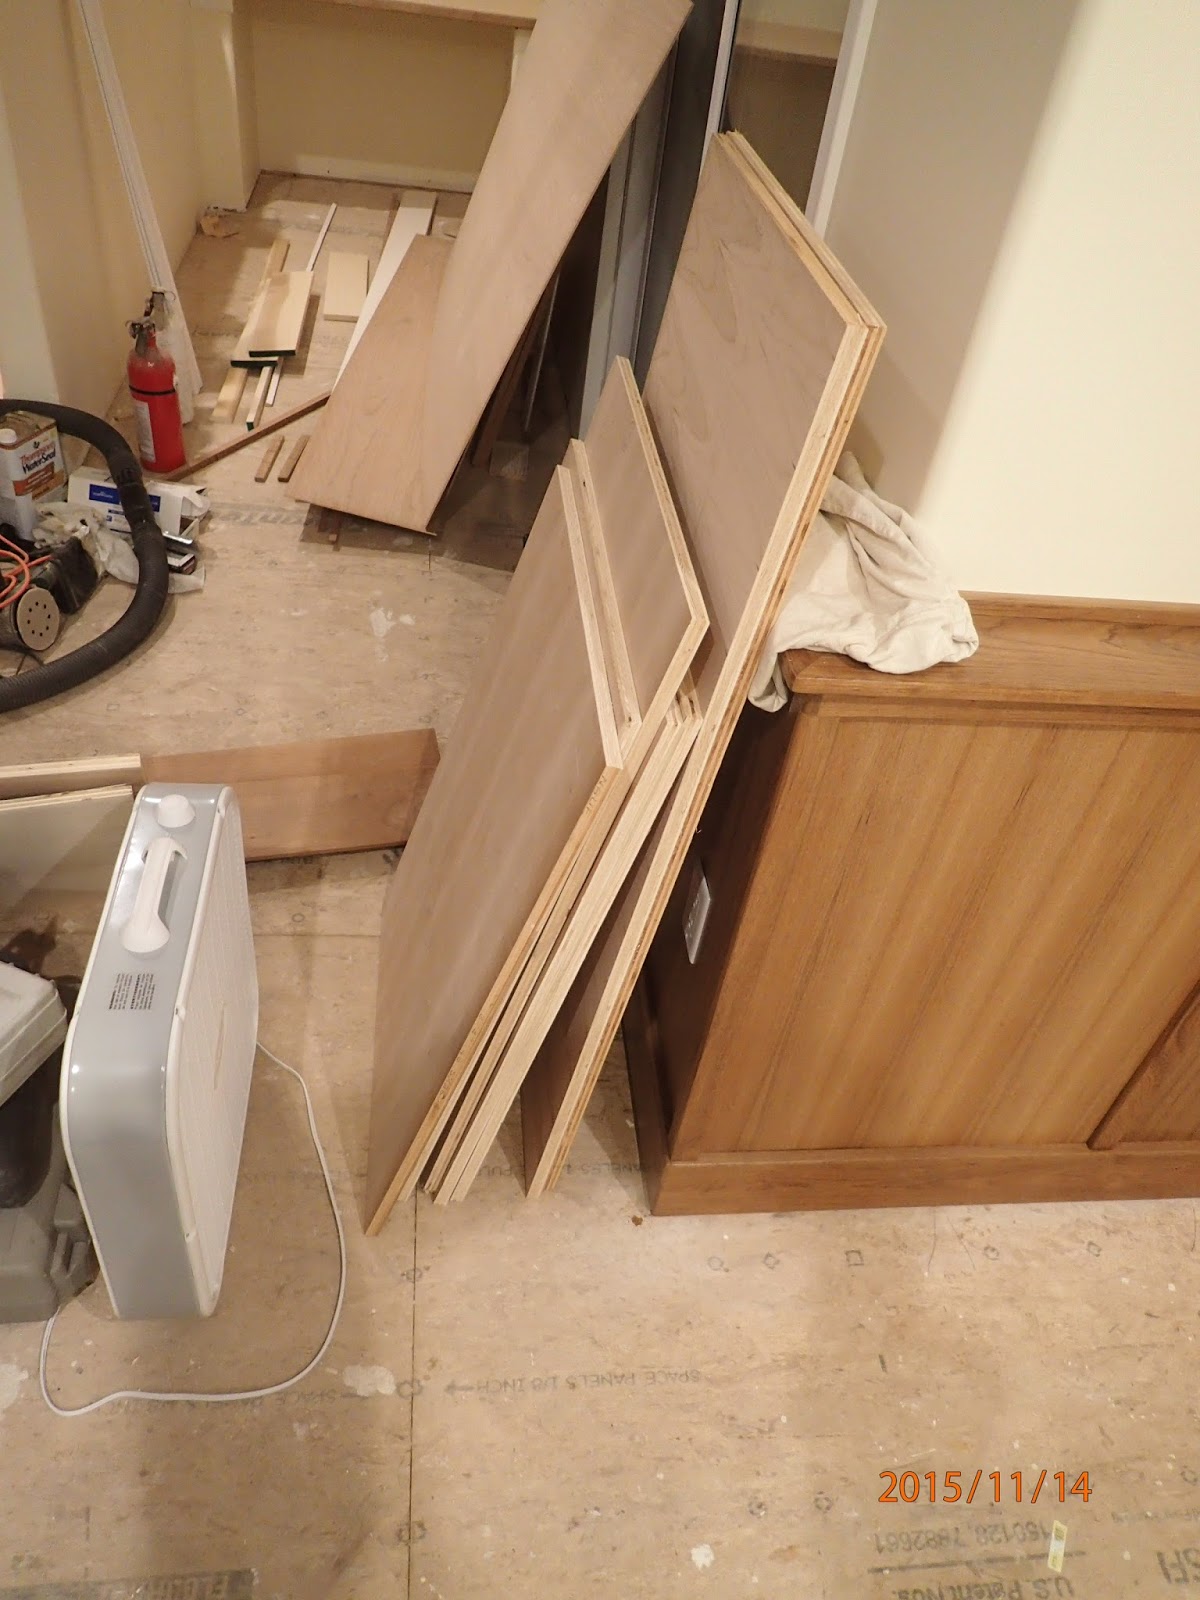
So on Tuesday we started by cutting out the drawer pieces. So I have 4 banks of drawers each with 3 drawers. Each drawer has 4 sides. Each side needs three cutting operations after being cut to size. First we need to cut a 1/4" groove in the bottom for the drawer bottom. Then the sides need two grooves cut at each end to accept a "tongue" from the front and back pieces. Then the front and back need a rabbit cut so as to create a tongue to fit into the sides. Simple you say however I do not have a dado blade setup to cut out the groove in one shot so each piece (48) needs to go through the table saw three times so that I can cut out the 1/4" grooves then the sides (24) need to go through six times to cut out the grooves at either end and then the front and back (24) need to go through 4 times to cut out the rabbit at each end. Needless to say we spent a little bit of time at the table saw. Oh let me add that before that I also needed to do some belt sanding as I free handed the cutting of the sides since they are not rectangular. My side taper down so I needed to clamp up eight sides so as to be able to sand smooth the angular cut. Here are some photos showing all this. The first one shows me free handing the taper cut with my cordless skilsaw, second we are sanding down this edge so all eight pieces are symmetrical. Then the third picture just shows all the pieces stacked up after all the milling was complete and the last picture shows the pieces stacked in front of their respective drawer stack.


On Wednesday we worked on the shelves for the uppers and started the glue up of the drawers for the lowers. Due to amount of clamps I could use, I could only glue up two drawers at a time. I left each pair in the clamps at least 4-5hrs so it took a while to glue them all up. I also could only glue up half the shelves at one time also so I had a little down time to contemplate future work in the house. Here are a couple of pictures showing the glue up process.


 Thursday and Friday after work we did some more glue-ups. This meant that by Saturday morning I only had two drawers left to do and all the shelves were done.

So today we started by sanding down all the shelves for the uppers and rounding over the edges. Once this was done we filled in any small gaps we found and left them to dry. Once the wood filler was dry gave them a final sanding and then cleaned them before applying the first coat of varathane. Since I managed to get this done around noon hour meant that I could put a second coat on later this evening. So the shelves are now drying as I write this article. I varathaned both sides and will not only varathane the top and front for the final two coats. Here is a picture showing the pieces laying out on the lower cabinets after their first coat of varathane. There will be two shelves per cabinet.


In between this all we glued up the last pair of drawers early in the morning and in the afternoon started work on rounding over the edges and sanding down the drawers. After each drawer was sanded I brought it inside for a trial fit. Three of the drawers needed a little bit more aggressive sanding on the sides so that they would fit smoothly in between the full extension drawer slides. As well it looks like a couple of the drawers will need some shimming under the drawer slides to ensure proper installation. I'll probably just use some washers to shim them out. Here is a picture of the drawers after this work and awaiting varathaning.


I thought about starting the varathaning tonight but when I opened the can that I had left over from my old house there was to much contamination from the can rusting out. So we had to dilute and throw out the leftover varathane and we'll just pick up a new can on Monday. I tend to use the water based product so disposal is not as problematic as the oil based products. I also spent some time cutting down some of the remaining cherry I had for drawer fronts. Now we just need to pick up a few more boards to finish making the drawer fronts. As for the cabinet doors I'll probably wait until next spring to do them in the garage. That is unless I get bored later this winter and decide to start them sooner. So for the next week we'll finish doing as much of the varathing as possible. Then we'll install the Ditra heat membrane in the second bathroom, finally I'll probably look at getting the countertop guy out to measure up for my countertops. 

So until we meet again have a great week.

Harold


Saturday, 21 November 2015

Well I think that Dad would be proud of this weeks work

I say this because when Dad was a finish carpenter he would build the cabinets in the house as well as trim out the normal stuff. Of course this all stopped by the mid 70's but prior to that Dad built quite a few kitchens and vanities in the houses he worked in. Now these were not big houses they were just your normal starter homes for working class families. But in those days the finish carpenter not only hung doors and installed the trim but they built the stairs and all the cabinets in the house. So without further ado here's what we have.
On Sunday we worked on finishing all the side walls and getting them ready for installation. Unfortunately this led to some frustration as I could not find my 30" bar clamps to use to clamp the facing onto the wall pieces. I thought they might be in Mom's garage but they weren't and I still could not find them in my garage. Oh well I'm sure they'll turn up soon or later. Therefore I ended up using my 6ft clamps instead. It worked but was much more awkward in moving them around. While two sections were clamped up and drying we installed the 1/4" backing cherry plywood in the locations it would be needed. In the end this turned out to be just the sink cabinet as well as the two counter cabinets. All the remaining cabinets will be drawer units and do not need backing plywood. Once this was done while waiting for the glue to dry I decided do some more work on the battens and trim work on the side porch. I installed some of the Fir trim work and then finished up by installing the short battens over the doorway area. Here's a picture showing some of the side walls in laying ready with their facing strips. As well you can see the backing plywood installed. I used some filler pieces in the sink cabinet as the sink will cover the area not covered with plywood. Second picture shows the work on the Fir trim and Oak battens.


On Tuesday we started by completing the cabinet that will be between the stove and the refrigerator. This was a small 26" wide cabinet so would be a good place to start. I first carefully leveled and installed the two side walls and then began the process of trimming out the face. First we installed some small blocks on the side walls which would be behind the horizontal trim that would separate the drawers. I used a small framing square to insure it was 90deg to the front wall before securing it in place with a couple of screws and glue. I then installed the drawer separators. These pieces of wood were 1.5" wide. The lower trim on the bottom shelf was 3/4" and the upper piece under the counter is 2" wide. The three drawers are essentially 6", 9", and 12" deep. All the drawers will be of the same configuration just different widths. Here are a few pictures of what it looked like by the end of the day. First one shows the method of installing the small support blocks. Second one shows the completed cabinet and the third one shows the start of the cabinets across from the first one. The hole in the third photo is so that I can access my central vacuum system and can install my vacuum pan on the outer cabinet wall once the varathaning is done and the floor is installed.


On Wednesday we continued working on the cabinets and managed to get to the point that we had all the work done that could be done with the exception of the sink cabinet. The reason the sink cabinet needed to be last was that I could not install those last two cabinet walls until I had installed the shelf in the corner cabinets. I did not want to install the shelf until I had a chance to put on a few coats of varathane to the backing and area as it would be to difficult once all the pieces were in place. So by the end of the day all the pieces were ready and we could put the first coat of varathane on the two shelves as well as the inside of the corner cabinets and the sink cabinet. Once this work was done I proceeded to work on installing the dryer vent as I could not finish installing the battens until the vent was in place. Here are a few shots showing the work at the end of the day. In the first picture you can see the first coat of varathane on the back walls and the two shelves on the left side of the picture.


On Thursday we painted a second coat of Varathane over all the surface areas and on Friday we painted a third coat of varathane on select surfaces like the top of the shelf and the lower shelf.

On Saturday we finished off all the major work on the construction of the cabinet carcass. This also included installed a support system for the man made countertop that will eventually be installed over top. The job was a little tedious and there were a couple of swear words mentioned when I made a few mistakes but on the whole it looks pretty good. I still need to fill in the nail holes and then sand everything smooth before we put the first coat of varathane on. As well I'll probably also make the two fake fronts for under the sink above the two doors and install them before varathaning as well. So here are a few pictures showing the work completed today.


So hopefully this coming week we will be able to make the majority of the drawers and get the ball rolling on installing a countertop. I already have a sink here and the taps will hopefully be on the way shortly. So who know maybe in a few weeks we'll have a functional kitchen. It may still take a while to build doors but who cares I can live with cabinets without doors for quite a while. 

Well until next week batten down the hatches and keep warm, because they say winter is coming.

Harold


Saturday, 14 November 2015

We'll be cooking with gas soon, or so I hope

Well the work has started on the lower cabinets for the kitchen. I hope that by the end of next week the main carcass will be done and I can put on a few coats of Varathane. We'll just have to wait and see I guess. Anyway on to what happened this week.

On Sunday afternoon I decided to mount the upper cabinets. Initially was going to wait and see if the brother in law could help but got a little antsy and decided to do it myself. Now the uppers were built as one complete 8ft section so they were awkward. They were not that heavy but still awkward. So I looked around and found a few items to use as "stilts" on which to raise my cabinets up into position. Essentially moved the cabinets onto the first set of blocks and then just moved from end to end raising each end on a higher block until final height was reached. Just as I was almost finished raising the unit the brother in law came over and helped me with the final installation. I had pre drilled holes so once it was in the right location I just needed to drive home the screws. These screws were located so that they went into the studs of the interior walls or into blocking that I had installed when framing the wall. Finally later in the evening I decided to install the microwave as well. Here are some pictures showing the stuff I used to block up the cabinets as well as the final installation. As well I'll show a picture of the framing that is supporting the cabinets. You will easily see the blocking along the top of the wall as well as blocking for the microwave that will be installed later. Lastly there is a picture showing the microwave in place and hooked up to the venting system.


So on Tuesday in the drizzle I decided to install the cast iron balusters I bought for the stair railing onto the front deck. I started by installing a clear cedar 2by4 on the vertical as the top of the railing. I then calculated out the distance between balusters and went into the shop to drill holes in the bottom of the top railing to accept the top of the baluster. Of course these holes needed to be drilled on an angle. So we setup the drill press to be able to drill the correct angle and depth the holes needed to be. Once the holes were drilled we went back to the stairs and started the installation. The start of this was test fitting each baluster to find out how much of the baluster needed to be cut off to fit. All the balusters came extra long so they could be trimmed to fit. We cut them off in the shop using a small powered hacksaw. Once this was done we could start the final installation. The bottom of each baluster went into a small bracket that was screwed to the stringer of the stair. Before installing each baluster we inserted some black silicon into each bracket and then into the hole in the railing. Then we pushed each baluster into their applicable holes and cleaned up whatever silicon had oozed out. Once this was all complete we cut off the lower newel post to the correct height and topped them with a set of rechargeable solar lights. Here are two pictures, one a fuzzy one from the cellphone of the setup in the shop to drill the holes and the other one of the finished product. In my opinion the picture does not do it justice. It looks really great when you're standing near it.


We finished off the day by starting to work on the bases for the lower kitchen cabinets. These took some time as I wanted to ensure I had square cabinets and level cabinets. Here are two pictures showing the upper back frame around the back wall of the cabinets and then a picture showing the base under construction. One little note, since these are stick built cabinets I can play with the dimensions. One of the things I've done is raise the cabinet height up higher than normal. These cabinets will have a counter top height of a little over 39" as opposed to the normal height of 36". This will help my aching back down the road as I am 6'5" tall and bending down to do dishes is no fun. Last thing I did today was go out and pick up some rough cut Burr Oak which is part of the White Oak family. I got this lumber for a food price and will be installing it tomorrow as boards for board and batten siding outside my side door.


 So on Wednesday we started out by installing the boards for the board and batten siding that will be installed outside my side door on the side porch. The boards are all around 6-8" wide and are secured with a row of screws down the middle of the board. Once I have a chance to clean the boards and install some fir trim along the top where it hits the ceiling we'll be able to install the battens as well. So as of now this is what that wall looks like.


After we finished this we continued working on the bases of the kitchen cabinets and gave the toe kicks their coats of black paint. 

Today on Saturday we picked up 4 sheets of 3/4" cherry plywood along with some solid cherry boards as well. We then proceeded to cut the sheets down into pieces for the project. I first cut out the pieces that will sit on the base and be the bottom of each cabinet. I then cut the remaining two sheets down into pieces for the walls of the cabinets. I would need 10 wall sections some taller than the others depending on whether they sat on the base or were attached to the edge of the base. Once this was done we carefully installed all the bottom shelf pieces. After these were installed we started the process of fitting each wall unit into place. I decided to stop after three sections were down as it was getting a little cool outside, as well the inlaws invited me over for dinner. I had planned on biscuit jointing the solid cherry edges onto these three wall sections tonight however I've determined that the clamps I need are sitting in Mom's garage so we'll have to pick them up tomorrow and continue the work then. Here's a couple of pictures showing the pieces cut out for installation as well as a photo showing all the lower shelves in place.


Last but not least around noon today we went over to the flooring place and picked up the bamboo flooring I'll be installing in the house. 41 boxes later we have all the flooring in the house getting acclimatized to the actual conditions in the house. Here's a photo showing some of the boxes sitting in the house with one box open to inspect the flooring.


So that's all for now. See you next week with another chapter in the building of Harold's house.

Harold


Saturday, 7 November 2015

We're closer to being able to have guests stay over.

Well maybe a little bit closer still a ways to go however the slide down the back side of the work curve is speeding up. So to get you caught up with what we did here it is.
On Sunday we spent the day painting the first coat on the walls of the spare bedroom. Once that was down we spend time working on the upper cabinets of the kitchen. This essentially entailed cutting two strips of cherry for the top and bottom back rail and then installing the walls of the cabinets on the rails. We also installed the floor of the cabinet that will be above the built in microwave oven. Finally we also slide in the 1/4" cherry plywood that will be the back wall of the cabinets. This slides into two grooves that were cut into the top and bottom rails. Here are some pictures showing the paint in the bedroom and the work on the cabinets.


 On Monday we worked so the next day to work on the project was Tuesday. On Tuesday we spent time painting the second coat of paint in the bedroom and then continued work on the upper cabinets. This entailed putting on the top and bottom front rails as well as installing all the bottoms of the cabinets. The end cabinet is a corner cabinet so it took a little more care and finesse to ensure all the calculations were correct to build this up. At the end of the day we realized that we had made a slight error in construction such that the 1/4" top of the cabinets instead of being inset behind the top rail would now have to fit on top of all the walls and the top rail. It was a bit of an "oh shit" moment when I realized however we did come up with the fix of installing a small corner trim piece once the entire cabinet is mounted. This cover the top as well as cover up any gaps due to uneven bulkhead drywall. It's one of these problems that you as the builder know occurred however at the end of the day any visitor will most likely never know you made the mistake. So here's a picture showing the work on the cabinets by end of day.


This brings up to expensive Wednesday. First thing we did was finish off the remaining work on the uppers which mainly entailed final trimming around the corner cabinet. Once that was done we left everything alone to allow the glue time to cure. While this was happening out we went and ordered the Ditra Heat underfloor heating system for the spare bedroom and then went over to the local flooring store and ordered the Teragren Synergy wide plank bamboo flooring, in natural colour, for the house. This should arrive on Tuesday and I'll bring it into the house on Wednesday. Then after a week or two of acclimatizing we'll be able to start laying down the floor in the living, dining area. Later in the evening we removed all the clamps and sanded down the cabinets before putting on the first coat of Varathane. The Varathane being used is the same stuff I used on the Teak wainscoting. This is a Minwax Oil modified water based polyurethane. 

On Thursday after work we gave the cabinets a second coat of Varathane and this is what they look like at this time.


On Friday after work we rotated them 90 degrees on the sawhorses and prepped the cabinets for installation. This included drilling holes for where the mounting screws will be. As well we drilled and cut out any holes required for mounting the microwave as well as the venting required for this. Lastly we added a small extension for the venting system to the elbow which was just sticking out from the bulkhead. Now when we install the cabinet we'll just slide it up so the extension slides into the hole you can see in the cabinet just above the microwave location. Hopefully i'll get a chance to mount it either tomorrow, Sunday or early next week. Once it's installed we'll give it a few more coats of varathane on the critical areas and then start work on the lower cabinets. 

So that's where we sit at this time. Next week I'll start work on the lower cabinets as well as start cleaning up some of the items in the house so that I  can sand down the floor prior to installing the flooring. The sanding it only being down to clean up some of the spilled drywall mud as well as to ensure all the joints are smooth and not jagged. Then once the flooring is installed we can start work on bringing the last of the furniture from the garage. As intimated at the beginning of the article the end is in sight, or at least a lot closer than a few weeks ago. 

Until next week all the best and have a great fall. And for all of us remember our Veterans on Nov 11th.

Harold