On Sunday afternoon I decided to mount the upper cabinets. Initially was going to wait and see if the brother in law could help but got a little antsy and decided to do it myself. Now the uppers were built as one complete 8ft section so they were awkward. They were not that heavy but still awkward. So I looked around and found a few items to use as "stilts" on which to raise my cabinets up into position. Essentially moved the cabinets onto the first set of blocks and then just moved from end to end raising each end on a higher block until final height was reached. Just as I was almost finished raising the unit the brother in law came over and helped me with the final installation. I had pre drilled holes so once it was in the right location I just needed to drive home the screws. These screws were located so that they went into the studs of the interior walls or into blocking that I had installed when framing the wall. Finally later in the evening I decided to install the microwave as well. Here are some pictures showing the stuff I used to block up the cabinets as well as the final installation. As well I'll show a picture of the framing that is supporting the cabinets. You will easily see the blocking along the top of the wall as well as blocking for the microwave that will be installed later. Lastly there is a picture showing the microwave in place and hooked up to the venting system.


So on Tuesday in the drizzle I decided to install the cast iron balusters I bought for the stair railing onto the front deck. I started by installing a clear cedar 2by4 on the vertical as the top of the railing. I then calculated out the distance between balusters and went into the shop to drill holes in the bottom of the top railing to accept the top of the baluster. Of course these holes needed to be drilled on an angle. So we setup the drill press to be able to drill the correct angle and depth the holes needed to be. Once the holes were drilled we went back to the stairs and started the installation. The start of this was test fitting each baluster to find out how much of the baluster needed to be cut off to fit. All the balusters came extra long so they could be trimmed to fit. We cut them off in the shop using a small powered hacksaw. Once this was done we could start the final installation. The bottom of each baluster went into a small bracket that was screwed to the stringer of the stair. Before installing each baluster we inserted some black silicon into each bracket and then into the hole in the railing. Then we pushed each baluster into their applicable holes and cleaned up whatever silicon had oozed out. Once this was all complete we cut off the lower newel post to the correct height and topped them with a set of rechargeable solar lights. Here are two pictures, one a fuzzy one from the cellphone of the setup in the shop to drill the holes and the other one of the finished product. In my opinion the picture does not do it justice. It looks really great when you're standing near it.


We finished off the day by starting to work on the bases for the lower kitchen cabinets. These took some time as I wanted to ensure I had square cabinets and level cabinets. Here are two pictures showing the upper back frame around the back wall of the cabinets and then a picture showing the base under construction. One little note, since these are stick built cabinets I can play with the dimensions. One of the things I've done is raise the cabinet height up higher than normal. These cabinets will have a counter top height of a little over 39" as opposed to the normal height of 36". This will help my aching back down the road as I am 6'5" tall and bending down to do dishes is no fun. Last thing I did today was go out and pick up some rough cut Burr Oak which is part of the White Oak family. I got this lumber for a food price and will be installing it tomorrow as boards for board and batten siding outside my side door.


After we finished this we continued working on the bases of the kitchen cabinets and gave the toe kicks their coats of black paint.
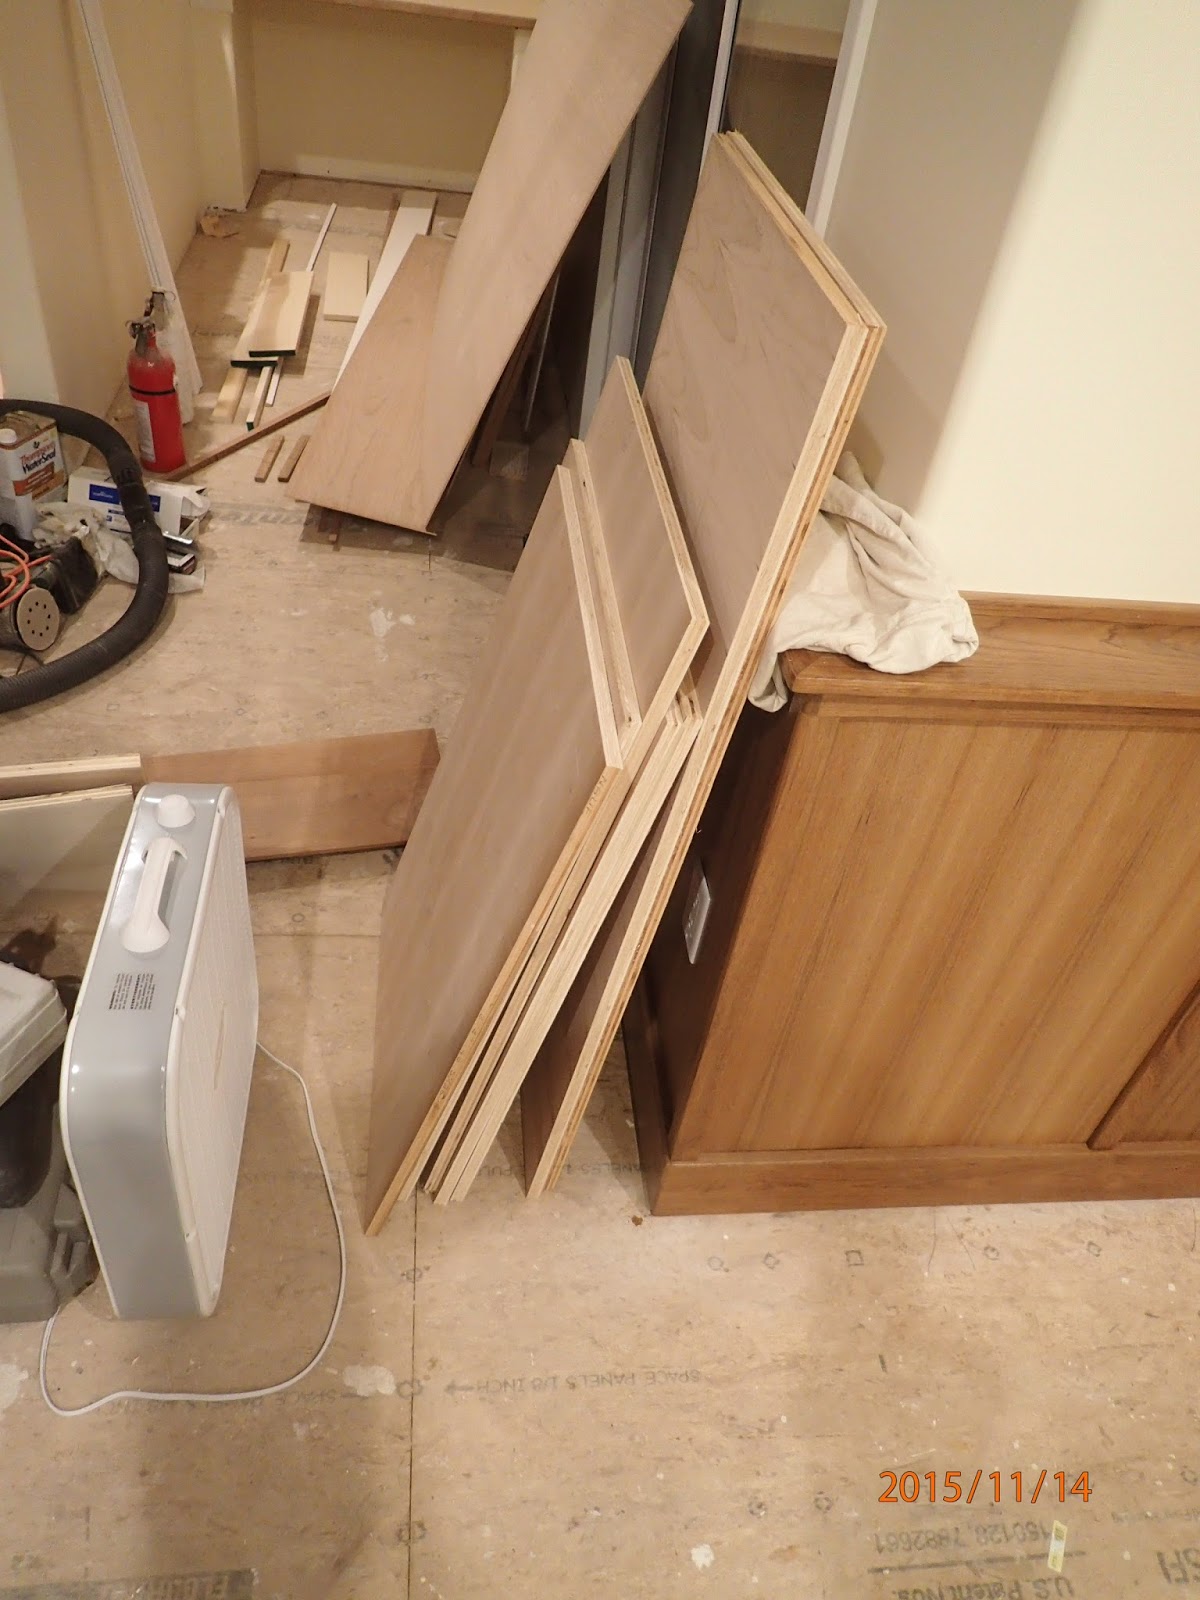
Today on Saturday we picked up 4 sheets of 3/4" cherry plywood along with some solid cherry boards as well. We then proceeded to cut the sheets down into pieces for the project. I first cut out the pieces that will sit on the base and be the bottom of each cabinet. I then cut the remaining two sheets down into pieces for the walls of the cabinets. I would need 10 wall sections some taller than the others depending on whether they sat on the base or were attached to the edge of the base. Once this was done we carefully installed all the bottom shelf pieces. After these were installed we started the process of fitting each wall unit into place. I decided to stop after three sections were down as it was getting a little cool outside, as well the inlaws invited me over for dinner. I had planned on biscuit jointing the solid cherry edges onto these three wall sections tonight however I've determined that the clamps I need are sitting in Mom's garage so we'll have to pick them up tomorrow and continue the work then. Here's a couple of pictures showing the pieces cut out for installation as well as a photo showing all the lower shelves in place.

Last but not least around noon today we went over to the flooring place and picked up the bamboo flooring I'll be installing in the house. 41 boxes later we have all the flooring in the house getting acclimatized to the actual conditions in the house. Here's a photo showing some of the boxes sitting in the house with one box open to inspect the flooring.

So that's all for now. See you next week with another chapter in the building of Harold's house.
Harold
No comments:
Post a Comment