This will then complete the garage. This past week we worked on the garage finishing off the attached shed which allowed us to get to this milestone. So here is what happened.
On Tuesday we started by framing the rear walls and installing the rafters. The walls are 2by4's on 16in centres and the roof is 2by6's on 16in centres. Everything was sheathed in 1/2in OSB sheathing. The construction is relatively basic construction techniques. I did use joist hangers on the rafters to help support them off of the garage wall. So after one days work this is what we had.


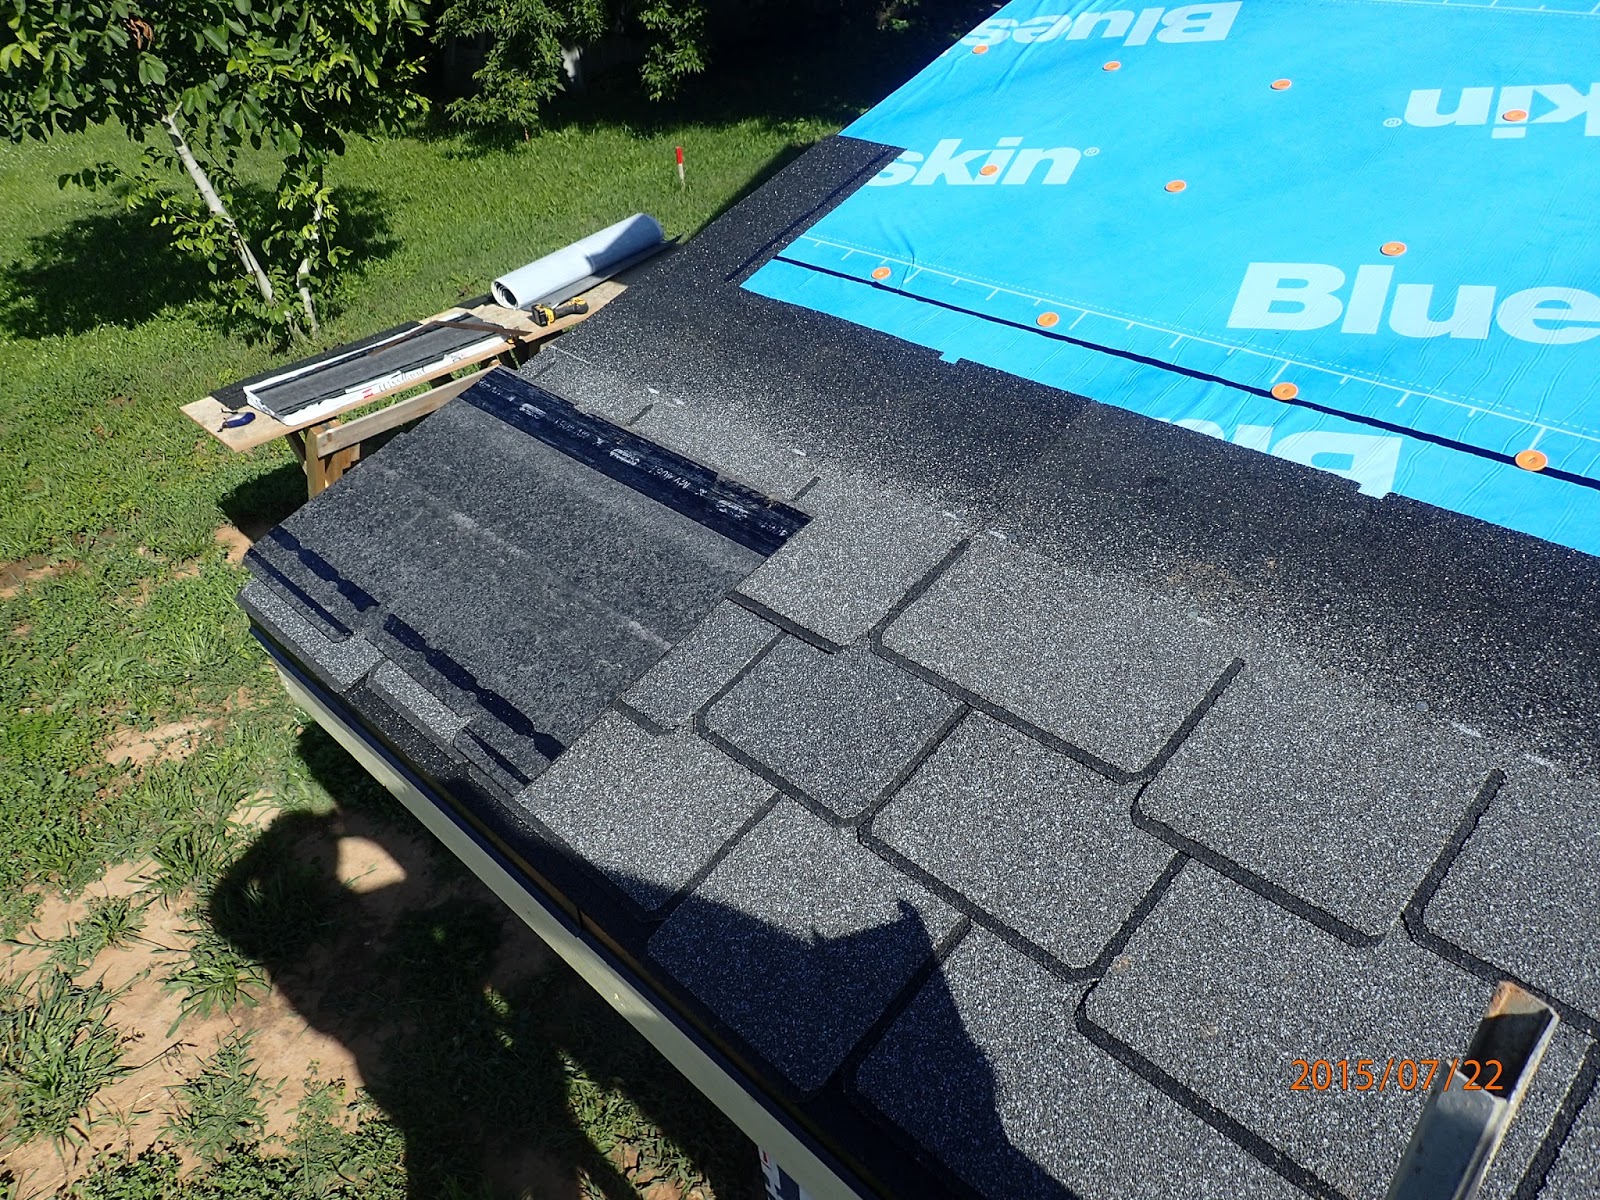
On Wednesday we started by working on the roof. First we installed a drip edge and then we installed some of our left over blueskin to use as an Ice and water shield. When we ran out of this we used the regular ice and water shield that was left over from the roof. When we ran out of this we used the left over deck armour material we used on the garage roof. Over this we installed our starter strips and then installed our GAF Woodland Castlewood Grey roofing. I carefully looked over the bundles I had left over from last year when we repaired the roof. All of these shingles looked good and flat. Since I was one bundle short I went to Hermans Roofing to pick up two more bundles. One bundle was kept as spare bundle the other was used to finish the shed roof and the small roof over the garage door entrance, This bundle had the same issues I had last year in that the tabs had a bend to them such that some of the tabs sat proud from the roof. Since the shed roof faces due south I expect these shingles should settle down shortly but I will keep and eye on them. While on the roof of the shed I looked over the garage roof shingles and as of now every shingle I looked at had sealed down nice and tight so hopefully no issues when the winter storms come around. Once the roof was done we spent some time building a door for the shed. The door is 4ft wide so a standard door would not work. I built this one up using a sheet of waterproofed plywood and then some treated 2by4's. In the last picture you can see the door almost complete. Here are some pictures showing the work on the roof.


On Saturday we finished off the shed. I built some shelves inside as well as installed two deck boards to be used a supports for hooks to hold up the garden tools. I also finished off all the soffit and facia using the leftovers from the house and garage. I had just enough with the exception of some J channel so went to the local lumber store and luckily they had a piece of brown J channel kicking around. I also made up some brackets to hold up the weed eater and some of the tools. Essentially they are pieces of 2by4 with angle cut and then a rounded over edge to take away the sharp edge. They work really well for holding up the weed eater and my pick and pry bar. I also lucked out in that a pair of brackets I had built in Courtney BC to hold up my ladder in my shed there could be repurposed to hold up my ladder here as well. This time instead of being attached to a pair of collar ties they are attached to a pair of rafters instead. I still have almost 6ft8in clearance underneath them. Here are some pictures showing the finished exterior and interior.


I had hoped to be able to install some Masonry today however by the time all the shed work was done it was getting a little late in the day. As well they have been threatening rain showers this afternoon and evening and I don't want to install brick just before a rainstorm. So hopefully this Tuesday or Wednesday will be good days for doing stonework.Then once this is done it is on to the vinyl siding.
Well until the next episode have a great summer and enjoy whatever vacation time you take.
Harold
No comments:
Post a Comment