Saturday, 12 September 2015

With a little rain some grass should grow

Unfortunately the little rain is turning out to be a fair amount of rain. So far at least the front lawn is holding out. However we still have it looks like 4-5hrs of rain in the forecast off and on. Then 4-5 days of sunshine. So we'll see what happens. So why am I talking about this well lets see what we did to cause this.

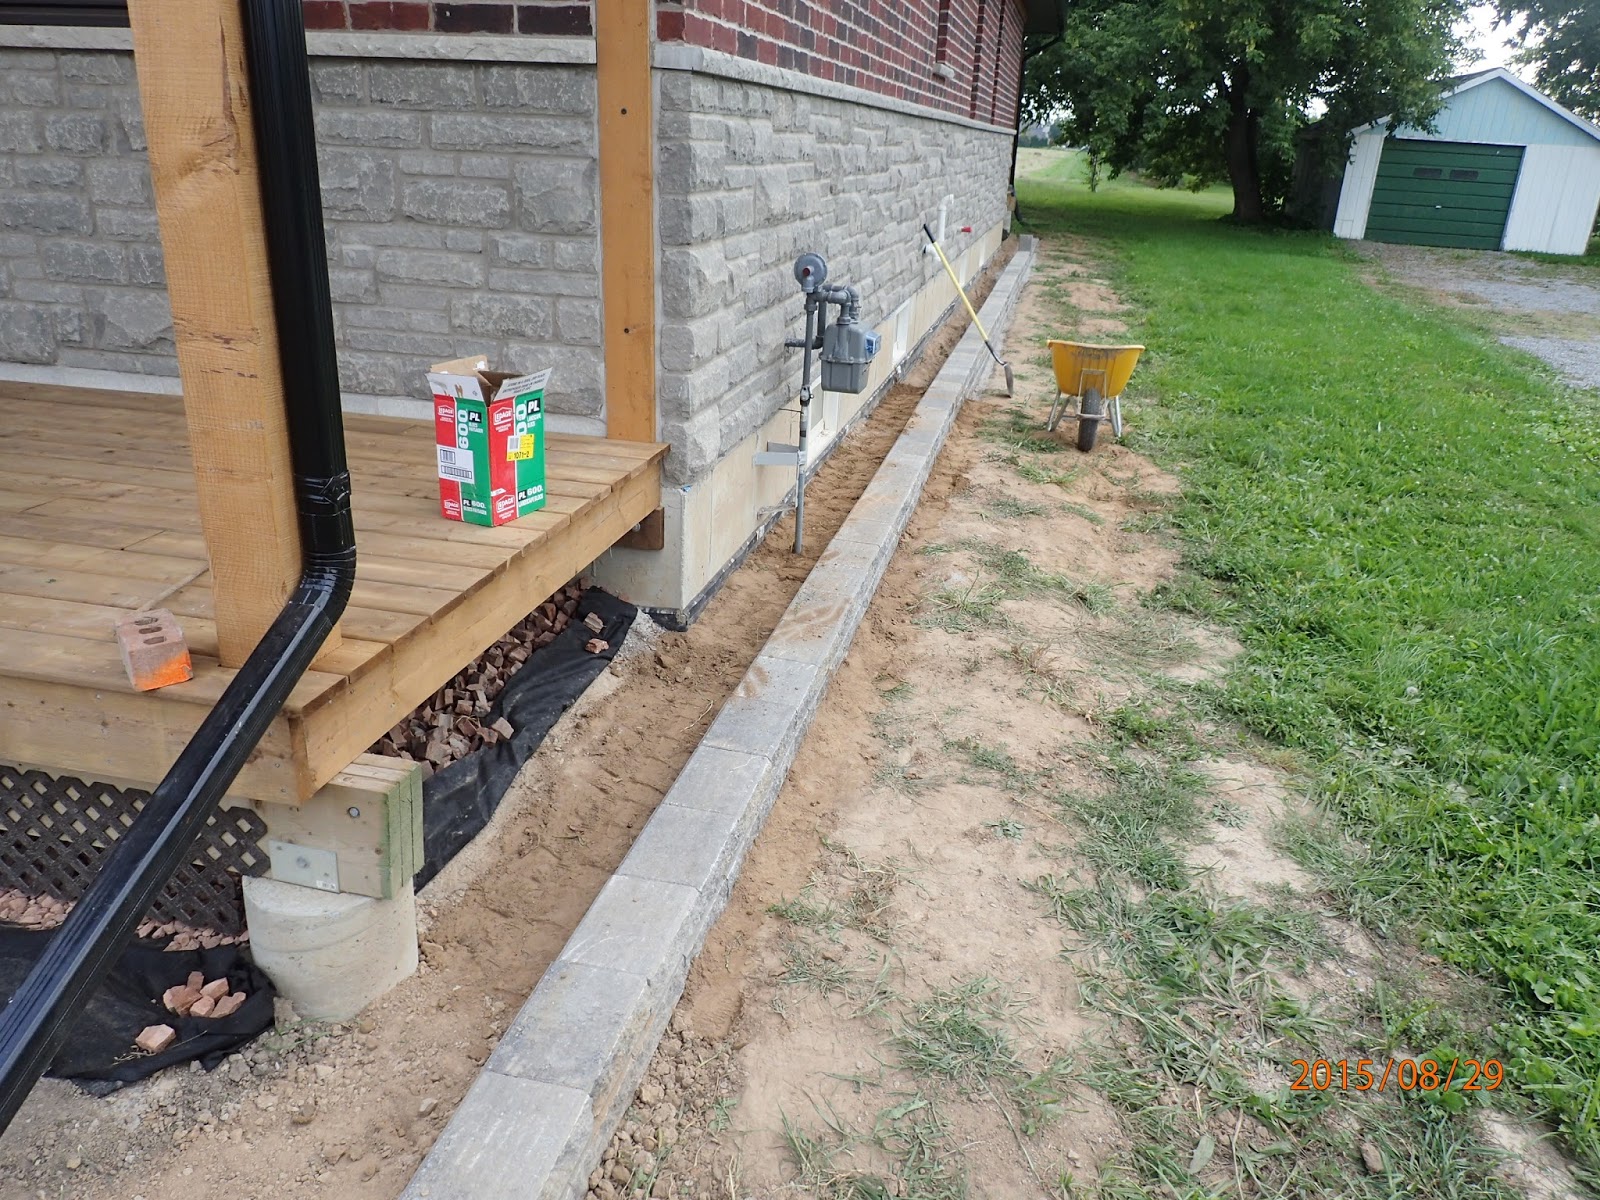
On Sunday morning and late afternoon and evening we moved some dirt around to get a layer of topsoil down on the front lawn.
On Monday I moved more dirt until the heat drove me inside. Once inside I decided I could finish off some drywall mudding in the basement. We spent a few hours finishing off the first coat of drywall mud in the second bedroom, the hallway and one of the two rec room areas. Now the only room not given a first layer of mud is the second rec room and the lower end of the staircase to the basement.
As well I installed a piece of Bamboo countertop in the kitchen area. When I built the kitchen area I built a wall to act as the back of one set of cabinets and to provide an area for a eat in bar area. At the end of this wall where it hits the exterior wall I built two small extensions for a small table there. One of the reasons for this was to hide the gas barbecue pipe that came up there from the basement and went out the wall for the BBQ. Well I picked up a piece of Bamboo countertop at Lowes on Sunday that was 6ft by 25in by 1.5in thick. The piece was cut down to fit, about 48in, and then installed on the small wall extensions. The top is quite heavy so all I did was lay down a decent layer of wood glue on the wooden wall tops and set the piece on this. I then laid down the first of many coats of water based varathane. I finished the day by cutting down to size some of the tiles that would be installed over the shower in the spare bathroom. Here is a picture showing the Bamboo table in the kitchen area.


On Tuesday morning the first thing we did after meeting the gang for coffee was to go to the lumber yard and pick up some 1/2" metal screening. I picked up a two ft square piece and nailed it to a frame work of 2by4's and proceeded to sift dirt for the front yard. Initially I spread out the topsoil but it included the odd stone and some larger clayish lumps. For the last inch or so I wanted no large lumps so I sifted the topsoil to remove anything larger than 1/2". This sifted topsoil was then spread out over the front yard area. I managed over the course of the day to spread out enough dirt to cover about 75% of the yard. In between working on the yard I also spent some time indoors to get away from the heat and the light rain. While inside I installed about 75% of the rear wall of the shower enclosure with tiles. I've decided that instead of cutting a thin strip to finish the wall off I would instead buy a 1" tile to act as a decorative border thereby allowing me to install full height tiles. This meant I had to leave the last two rows empty until I could find a suitable tile for use as a border. As well we put the final coat of paint on the upper cabinet carcass for the laundry room and varathaned the Bamboo counter twice during the day. Here is a picture of the tile work as it sits for now awaiting the decorative border.


On Wednesday morning we finished sifting the dirt and spreading it out over the front lawn. I then rolled the entire lawn twice going north/south once and then east/west. Once that was done I took a lawn rake and scratched the surface to loosen up the lop 1/8"of soil. Next we went around and spread some grass seed. Again we raked the dirt to mix the grass seed in and then spread some more. I did this one more time before we again rolled the yard to ensure the grass seed stayed put. Now all we need to do is wait for some rain and sun to get the grass growing. Once this was all done I went inside and installed some shelf track supports in the upper cabinets before the sister and brother in law came over to help install this unit. The installation went smoothly with the exception of one screw. I had marked and predrilled holes in the poplar 1by4's so that I could install screws in every stud on the wall. Unfortunately one screw fell right on the plate that protected the ABS vent pipe in the wall for the laundry tub. So instead of 10 large screws holding it up only 9 are doing the trick. So here are three pictures, first one shows the front lawn after seeding and rolling, the second picture shows the shelf support track and the third shows the installed upper cabinet.


Some of you will notice the level sitting there. Yes it is bang on level. Later in the day I started work on the lower cabinets and the picture below shows their state at the end of Wednesday.


Well for the rest of the week I had to work however on Friday night managed to get a little bit more work done on the lower cabinets. I had hoped to have them at the stage that they might be ready for painting such that I could paint them next week while recovering from my minor surgery however with the rain today I did not bring home the plywood needed to finish the lower cabinets. So as of now this is what the lowers look  like.


Well due to the surgery mentioned above it will be a few weeks before I can get back to work on the house. About the only thing I might do is water the front lawn with my left hand over the next few weeks to try and get the new grass growing. So until I get back to work I will most likely not be writing any updates. I anticipate being back to work on the house in the second week of October so hopefully around 10 Oct I might have an update. 

Until then have a great few weeks.

Harold


Saturday, 5 September 2015

The Hill is barren and the grass is hopefully on the way soon

Well as stated the hill is bare. I guess people want to see pictures of this hill and weeds. Sorry I did not include them last week. For those who asked here are two pictures showing the work in progress and the size of the weeds.


Now that, that's done on to the work we did this week.
On Monday after work I spent some time backfilling the small retaining wall on the west side of the house that I built last week. 
On Tuesday I first started by pulling weeds and filling up the trailer for a second load of weeds to the dump. For reference here's a picture of a trailer load of weeds.


After we went to the dump I went to the local lumber yard and picked up some Poplar 3/4" plywood and some 3/4" solid poplar lumber. This material once brought home was turned into a carcass for some upper cabinets in the laundry room/back entrance. The lumberyard cut my plywood in half so I had 2 pces 24" wide by 96" long. This was easier to transport and easier for me to handle as well. Once home we cut one piece into 37" long pieces and then proceeded to rip these into 12" widths. Luckily the original panel was almost 49" wide so we had one 24" wide piece and one 24-1/2" wide piece. I now had 4 pces 12" wide and 36" long. I notched out two pieces on the back sides of these panels to accept a piece of 1by4 poplar. The lower piece of 1by4 was grooved to accept a pce of 1/2" poplar plywood for the bottom of the cabinet. I then cut down some more of the lumber into 1by2's for the face frame. The top pce was rabbited to allow the top of the cabinet to fit into the rabbit. I also rabbited the bottom pce to accept the three lower pcs that would make the base of the cabinet. Hopefully some pictures will help later on. Once all the pieces were cut and ready we started the assembly by dividing the four side panels over the 92" length of the 1by4's. The upper cabinet will be 36" tall by 92" wide. Later the bottom cabinets will also be 92" wide but they will end up around 40" high and 24" deep. The 1by4's were glued and screwed into the notches on the side panels. Then the upper front face 1by2 was glued and screwed followed by the top plywood. Once that was done we installed the three bottom pieces and then glued and screwed the lower 1by2 face frame onto the plywood. All that was left was to install the 4 pieces of face frame on the front of each panel as well I installed some 5/8" filler strips on the plywood behind the face frames in the location where the hinge plates will go. I did about half of this in the morning and then went outside to spread dirt while I waited for an appraiser to come by to check out the house for my bank. They needed this done before I can receive a Home owners line of credit/mortgage to  provide money to finish the house. Once he was done off to the lumber yard to pick up the screws I needed and then back home to finish building the carcass as described above. Here are some photos showing me cutting the plywood, then all the parts prior to assembly. Then we have a photo from the rear of the cabinet showing the 1by4's in place followed by a picture from the front showing the filler strips and the completed face frame. Later in the evening we pulled more weeds to start filling the trailer for the third and final load to the dump.


On Wednesday I started by finishing the weeds on the dirt pile and then taking the last load to the dump. Once this was done I moved the upper cabinet carcass onto the deck and proceeded to round over the majority of the edges as well as giving a final sanding with 120grit paper. As well I had earlier applied wood filler to the screw holes to fill them in prior to sanding. After sanding we touched them up with a little more wood filler and once dry sanded those areas again. After this was done spread out a tarp on the deck and proceeded to prime the entire cabinet. Unfortunately the humidity was extremely high that day so there were times my sweat was dropping onto the paint. However on the positive side the paint dried quite quickly allowing me to put the first coat of Semigloss on the carcass that evening. However this time I moved the carcass into the house on sawhorses so I was not sweating as much. In between painting went back to the lumber yard and picked up some more 3/4" poplar plywood and lumber for the lower cabinets. Their construction will be very similar to the uppers however larger and I will also have drawers in two of the sections. The third section will house a laundry sink. As well there will be an indentation at the bottom for a toe kick. After this was done we again went out in the evening and moved a few more wheelbarrow loads of dirt. Here are some pictures showing the carcass with primer and then paint as well a picture of some of the pieces for the lower cabinets.


On Friday evening we spread a little more dirt and then painted the majority of the uppers with a second coat of paint. 
On Saturday we spent the majority of the day moving dirt. However I did take a break around noon hour to spend some time building the stairs to the front porch. Once that was done and it was a little cooler again we went back to moving dirt. Here are two pictures showing the stairs which are functional just not complete, still need railings. As well the second picture shows the front yard after numerous loads of dirt, some racking and then rolling to pack it down. Once the entire yard has its first layer of dirt I will then carefully spread out more where it needs it and then roll it again. Once that is all done I plan on taking a leaf rake and loosening up the top 1/4" of soil and then spreading out grass seed. Then raking it again, spreading out more grass seed before rolling it for the final time. Then we'll need to start watering the yard however I hope mother nature will help in this.


Well that's were we are right now. I hope over the next few days to finish spreading the dirt out front and hopefully even get it all prepared for grass seed. The hope is to have this seeded prior to my going under the knife. I may not be able to do much work but I should be able to spray some water on the seed daily with my left hand. Well we'll how it goes. I'll let you know next week.

Harold


Saturday, 29 August 2015

The hill gets a haircut

Well interesting week. More work being done to be able to start spreading topsoil. As well we started work on weeding the topsoil pile in behind the garage. There had been a letter sent to my neighbour complaining about unsightly weeds. It turns out the letter was actually meant for the company that owns the property behind us however after they finally cut the field this week I decided I had better weed my dirt pile. I really should have done it sooner but I procrastinated, and it cost me. I am now pulling out weeds that are over 6ft tall and around 1 inch diameter at the base. Luckily the soil is dry so it is reasonably easy to shake off all the dirt. I took one trailer load to the composting facility this morning and I have it full again ready to take to the composter on Tuesday. Then one more load either Tuesday or Wednesday and I shall have a naked dirt pile. I really should have had the nephew start weeding it when they were here last Saturday but I never thought about it then. Anyway onto the work that we did this week.

On Sunday afternoon/evening I dug out the trenches for the stone retaining walls along the front of the house and the west wall. Here are two pictures showing the end result. The west wall will be 12 inches away from the house and the front wall will be 4 ft from the deck. This will allow me to install gravel behind the west wall. As well I'll have room to plant a few bushes along the front of the house.


Now as anybody who has installed retaining walls knows. It takes a long time to lay the first course. First you need to dig the trench deep enough for gravel under the stones. Then I tamped down the dirt prior to installing the gravel. Then I tamped down the gravel in 1inch levels. Once the gravel was within a 1/2 inch of the final grade I switched to Limestone screenings to bed the stones on. Then you carefully bed the stones on this screening material and hammer it down to level in two dimensions. As well you need to keep the stone's level with the string so that you have a nice straight wall. Once the first layer was installed then adding the second layer or the capstones was relatively easy. Because of this work it essentially took me all day Tuesday and Wednesday to install the approximately 100ft of wall. Of course you are on your knees doing this so multiple breaks to get up and stretch were required. As well I had to pick up the stones at the local lumber yard so there were breaks there as well as 50 stones is the max my truck will handle. Finally on Wednesday evening I started work on pulling those weeds I talked about above. Here is a picture showing where I ended up on the west wall after installing the stone work.


On Saturday I spent the morning installing 102 Capstones on the wall. These as mentioned went a little faster than the lower stones. After this was done we loaded up the trailer with weeds and went to the composting facility to drop them off. After we got home I pulled some more weeds and started filling up the trailer for another load. After getting tired pulling weeds decided to get out of the sun and work in the shade at the front of the house backfilling the stone wall and leveling off the area in preparation for topsoil work. So after a few hours of doing this the front yard is ready for topsoil and the side wall is about 50% backfilled. The plan is to level off the front yard first and then work on the side yard to ensure we swale it properly to allow proper drainage from the rear yard to the front yard ditch along the road. So here are two pictures showing the front yard area ready for topsoil with the retaining wall backfilled and the second pictures shows the side wall which is about 50% backfilled.


So what's next on the agenda. Well first we'll finish the haircut on the hill and get rid of all the weeds. Then we'll work on spreading topsoil on the front yard area. As well we'll finish the backfilling of the side wall. After all this is done I'll probably start doing some work on the inside and that would be building some cupboards for the laundry room area as well as working on tiling the shower in the spare bathroom. Unfortunately I only have two more weeks to work on the house before I go under the knife for Carpal Tunnel syndrome. After the surgery I have a 4-6week recovery period where I will not be able to work on the house. So hopefully we have a few good weeks and then I guess I'll just have to take it easy for a while. 

So until next week all the best and good luck to all the students that will be starting school soon.

Harold


Saturday, 22 August 2015

"VOHE", "VOL" and then "VOHI" explained

Well as I said last week I would explain these acronyms this week. They are in order Victory over house exterior, Victory over landscaping and finally Victory over house interior. Of course then my brother had to come up with another one. His was when will you have SPOG, which is Solar panels on Garage. He knows that I will seriously look at this in the future as I had them installed on my previous house as well. But that will come down the road some day.

So what did we do this week well here it is. On Sunday I first reinstalled all the downspouts that I had removed from the garage to install my siding. I then placed 3 coats of Thompson Waterseal on 5 fir boards I had that would be used for frieze boards. After spending some time at Mom's and doing my weekly laundry I came home and proceeded to dig out the trench between my side porch and the front deck stair slabs in preparation for some Wall stone edging between the driveway and the side of the house. Here is a picture of that trench. It is setup so that about 4in of gravel will be tamped down and then 1/2in of Limestone screenings will go on top of that before the stone work is installed. The stones are 4in thick by 12in long by 8in deep.


On Monday night after work I spread out the gravel in the trench shown above so it was all ready for the stone work after being picked up Tuesday morning.

Then came Tuesday. Well the first thing I had to do was go to Brock Ford in Niagara Falls to have my truck worked on. For the last few weeks I've been having blue wrenches show up on my dash as well as the check engine light. So there is a Ford mechanic who lives in the area that is a good friend of the Brother in law and he prepared the shop for my coming in when the lights came on again. Well Tuesday morning after going for coffee with some other locals on came the lights. So after picking up my stone at Penner Lumber off to the Ford dealer I went. Luckily I was able to get the truck in the shop right away. Unluckily it needed a new throttle body which after install cost me almost 700$ as well they advised me that I would need to replace my VCT's soon and that will also cost me the better part of 800$. Oh well these will be the first big repairs on my 6yr old truck so we'll get it down. And by 11am I was back at home with new Throttle body and a smooth running truck. So in the afternoon. I installed all the stone work edging and even managed to level the dirt off and tamp it down in preparation for the fabric and gravel. Here is a picture of the finished stone work in the trench from the previous picture.


On Wednesday I started off by installing all the Frieze boards on the west wall and finishing off all the work on that wall. I started by reinstalling the blocks I had installed prior to the Mason's doing their work. Turns out most of the blocks were not secured tightly against the house so reinstalled them. As well the blocks are only 3.5in thick and turns out the brickwork ended up being about 4.25in away from the house so I needed to install another piece of 3/4in filler strip prior to putting up the frieze board. Once these repairs were down I installed all the trim and caulked up the expansion joint in the stone work that the masons had cut out. After this was done I moved over to the other side and did the same thing here between the side porch and the front deck. I once the trim was installed I laid down some landscape fabric and proceeded to shovel over a few wheelbarrow loads of red gravel to lay on top of the landscape fabric. Here are a couple of pictures first showing the blocks with the filler strips being installed and then two pictures showing the completed west wall. All that is left is landscaping along this wall. The last picture shows the area with the gravel installed between front and side porch. As you can see I was two wheelbarrow loads short of covering all the fabric.


On Thursday night I dug out the trench that will be used for the edging from the front porch to the road. 

Saturday morning after having breakfast with some of my coworkers we proceeded to start working on the front edging. First we installed the gravel and tamped it down. Then we installed some limestone screenings and slowly started out laying down the first course of stone. Once this layer was installed we installed the capstone layer with some specialty stone glue. Once this layer was installed we leveled off some driveway gravel along one side and backfilled the other side with some leftover dirt. Once all that was done we had a situation like the picture below.


We are now almost ready to start spreading out the topsoil for the front lawn. All that's left to do is install the stone edging in front of the deck and along the west side of the house. The stone along the west side is to allow me to hide some of the exposed water proofing material and provide a smooth line for the swale I need to install between me and the neighbour. This swale will direct all the water from that side of the house and from my rear downspouts out to the ditch along the road. This will take some time and may not be down before I head off for Carpal Tunnel surgery in Sept. We'll see how it goes and you'll just have to follow along. The last thing I did today was dig the trench out beside the garage for the stone wall edging that will be between my sidewalk gravel and the lawn going towards my shed. Here is a photo showing that trench.


Well that's it for now. Hopefully next week we'll have another good work week and be able to pass on more info on how it is going on the Mulder homestead.

All the best, Harold


Saturday, 15 August 2015

We have "VOG" day

Well it finally happened we had "VOG" day on Aug 12 2015 2 days before my one year anniversary for buying my building lot. And you ask but what is "VOG" day well it is Victory over Garage. On Aug 12 I finished the work on building the garage. Now it is just the house and the landscaping. So this is how we got there.

On Sunday morning I finished the stonework on the front of the garage. Once that was done we went over and finished the east wall board and batten in the Gable end. Once that was done we installed the siding in the false garage door area. That is where I've made one of my first esthetic mistakes. I was trying to get siding that closely matched the colour of the garage door. Unfortunately once the siding was being installed I realized that it was not that close. For now I'll live with it but I do foresee a day down the road when I might pull this siding off and replace it with something a lot closer in colour to the garage door. So here are a few shots of the finished gable end and the stone work, as well as the false garage door area.


I ended up working on Monday and Tuesday so all I did on Monday was a little sanding and priming in the second bathroom in preparation for tiling. On Tuesday I got off at 2pm so spent the afternoon working on the front wall of the garage installing the siding. I managed to get almost all of it done before I called it quits for the day. 

On Wednesday we finished the little bit of siding left on the garage and then proceeded to finish of the siding that went above all the windows in the house. The I guess lucky thing was that once all the siding was installed all I had left was 1/2 of a piece of siding.  I really got lucky on guessing how much I needed. I was not as lucky on guessing how much "J" channel I needed for trimming the siding, I ended up with at least 8 pcs of this left over. However in my defence I did change how I installed some of the siding which thus meant that I saved 6pcs of "J" channel from being used so therefore I really only was out by 2 pcs. The last thing I did today was disassemble my jig for cutting the Soffit and Siding. This material was then used to make the form for the front porch steps concrete pad. This now means that the only work left on the house exterior is the frieze boards around the entire house and the two decks. As well about 400 sqft of wall still needs the wood board and batten, this is in the back deck area and the side porch area. Then we need to build the front porch steps and railings and then the rear porch steps and railings. So we are definitely getting there on finishing the exterior of the property. Of course then comes all the landscaping that will need to be done along with moving many, I say many wheel barrow loads of topsoil. So here is the front of the finished garage and a sample of the siding work above the windows, as well as a look at the form for the front porch steps pad.


Again I then worked on Thursday, Friday and Saturday. I did manage however to prep some of the Fir boards that I will use for the frieze trim. As well since we close the store at 5pm on Saturdays I did manage to come home from work on Saturday and pour some concrete for my front porch steps.  Lets see 23 bags of concrete at 2 bags per mix in a wheel barrow by hand is a lot of work. But the results are worth it. Here is a picture of the poured concrete.


Well that's where we sit now. Next on the list is "VOHE", "VOL" and then "VOHI". I'll let you think about those and let you know next week what they stand for. Well until next time don't let the sun burn you to much. 

Harold


Saturday, 8 August 2015

Just a little more to do on the Garage

Well we are getting there slowly but surely. I have maybe one more days work on the garage itself excluding landscaping. Then we'll move over to the exterior of the house. Looking at that I really only have maybe 4-5 days work on the outside before that is finished as well. The only issue will be choosing the last material to be used on two walls and when to finish the railings. Of course there will still be that pesky landscaping. Well onto what was done on the two days I had this week.

On Monday our Provincially mandated holiday we continued work on the south wall of the garage and finished all the siding there. We also started some of the east wall but ran out of roofing nails so had to move onto other work. So we went to the north wall and finished the stone work on two of the columns flanking the garage door. This went really well and I am pleased with the result. A mason may disagree but I think I did a pretty good job. Here are some photos showing the finished south wall as well as the two columns flanking the garage door.


My next day of work was Wednesday however we started the day by having an eye test. I eventually got home around one pm and started work on the East wall. This was interesting as my pupils were still dilated from the eye drops they used. This meant wearing sunglasses as much as possible however I had to take them off whenever I was doing something close in as my prescription is for distance and the interfere with my close in viewing. However by the end of the day I did manage to get at least 3/4 of the wall covered and even started some prep work on the north wall. This also included laying out some of the stone work for the last pillar beside the man door. Here are some pictures showing the work completed on the east wall and the layout of the stone work.


After coming home from work on Thursday I even managed to mortar in the stone work. As well I laid in more stone so that only a little bit is left to complete on this pillar. Today after work I laid out the rest of the stone work and either tomorrow or Tuesday afternoon will finally complete this stone work. As well on Tuesday I should have the east wall completed. This means that if all goes well by Wednesday evening the exterior of the garage should be done. This will be a great accomplishment as on Thursday the 14th it will be one year since I took possession of the property.

Well until next week have a great time.

Harold


Saturday, 1 August 2015

The garage is looking a little red faced.

Well the temps have really been up this week. It was definitely warm working in the sunshine. Therefore I tried to stay in the shade as much as possible.
So on Tuesday this past week I had a Dr's appt in the morning so was unable to work on the garage till after lunch. After lunch I decided to start on the east side of the shed as this would be in the shade as much as possible. Once the east side was done I moved over and did the south side. This was a little warmer than I really wanted so once this was done instead of moving to the west side I went to the north side and started work on installing some stone work. Since I had laid out some stone earlier I did not have to choose stone I just mortared it up. I managed to get the area to the right of the man door done. I also did about 50% of the two sides of the garage door area. Later once it has set I will lay out more stone in preparation for the next stone laying day. So at the end of the day this is what I had a shed partially sided and some stone work done.


Well on Wednesday I started work on the west side of the shed early in the morning. Once this was done I progressed onto the  west side of the garage. However the sun managed to catch up to me and I was working on the west wall in the afternoon sun. Luckily there is a large tree on the neighbours property and this did help shade me a little. By 5pm I had managed to finish the entire wall. I had started the lower portion from the north side of the west wall. At the ten foot level I installed a vinyl "j" flange to accept the top portion of the siding and above that I installed a metal flashing for water drainage. The upper gable end siding would end up 1/4" above this metal flashing. Once I started on this upper gable I was careful to ensure that the siding would stay in line with the lower pieces. I was successful in that this did work out. I don't think anyone batten is out by more than an 1/8 of an inch. Later that evening I started work on the front porch stairs by boring one of the holes required for the two railing posts at the bottom of the stairs. So here is a picture of the completed west wall of shed and garage.


For the remainder of the week I had to work so very little work was done. On Thursday night I installed one of the posts and started to bore the next hole. On Friday night I installed the second post as well as laid out some more stone work for the next time I mix mortar. Tonight on Saturday I spent some time digging out the dirt where the concrete pad will sit for the front steps. Here is a picture of the front step area after I soaked the back half of the excavation with water to help settle it. The reason for this is the front half is undisturbed soil but the back portion lies on top of the area where they dug a trench for the hydro and other utilities. 


Tomorrow will spend some time at Mom's place and Monday is a holiday here so we should be able to keep working on installing more siding along the rear of the garage. I might also get a chance to lay some more stone. Unfortunately I will have to work the remainder of the week so very little work will get done in the later half of the week. 

Until next week keep cool and enjoy the weather.

Harold