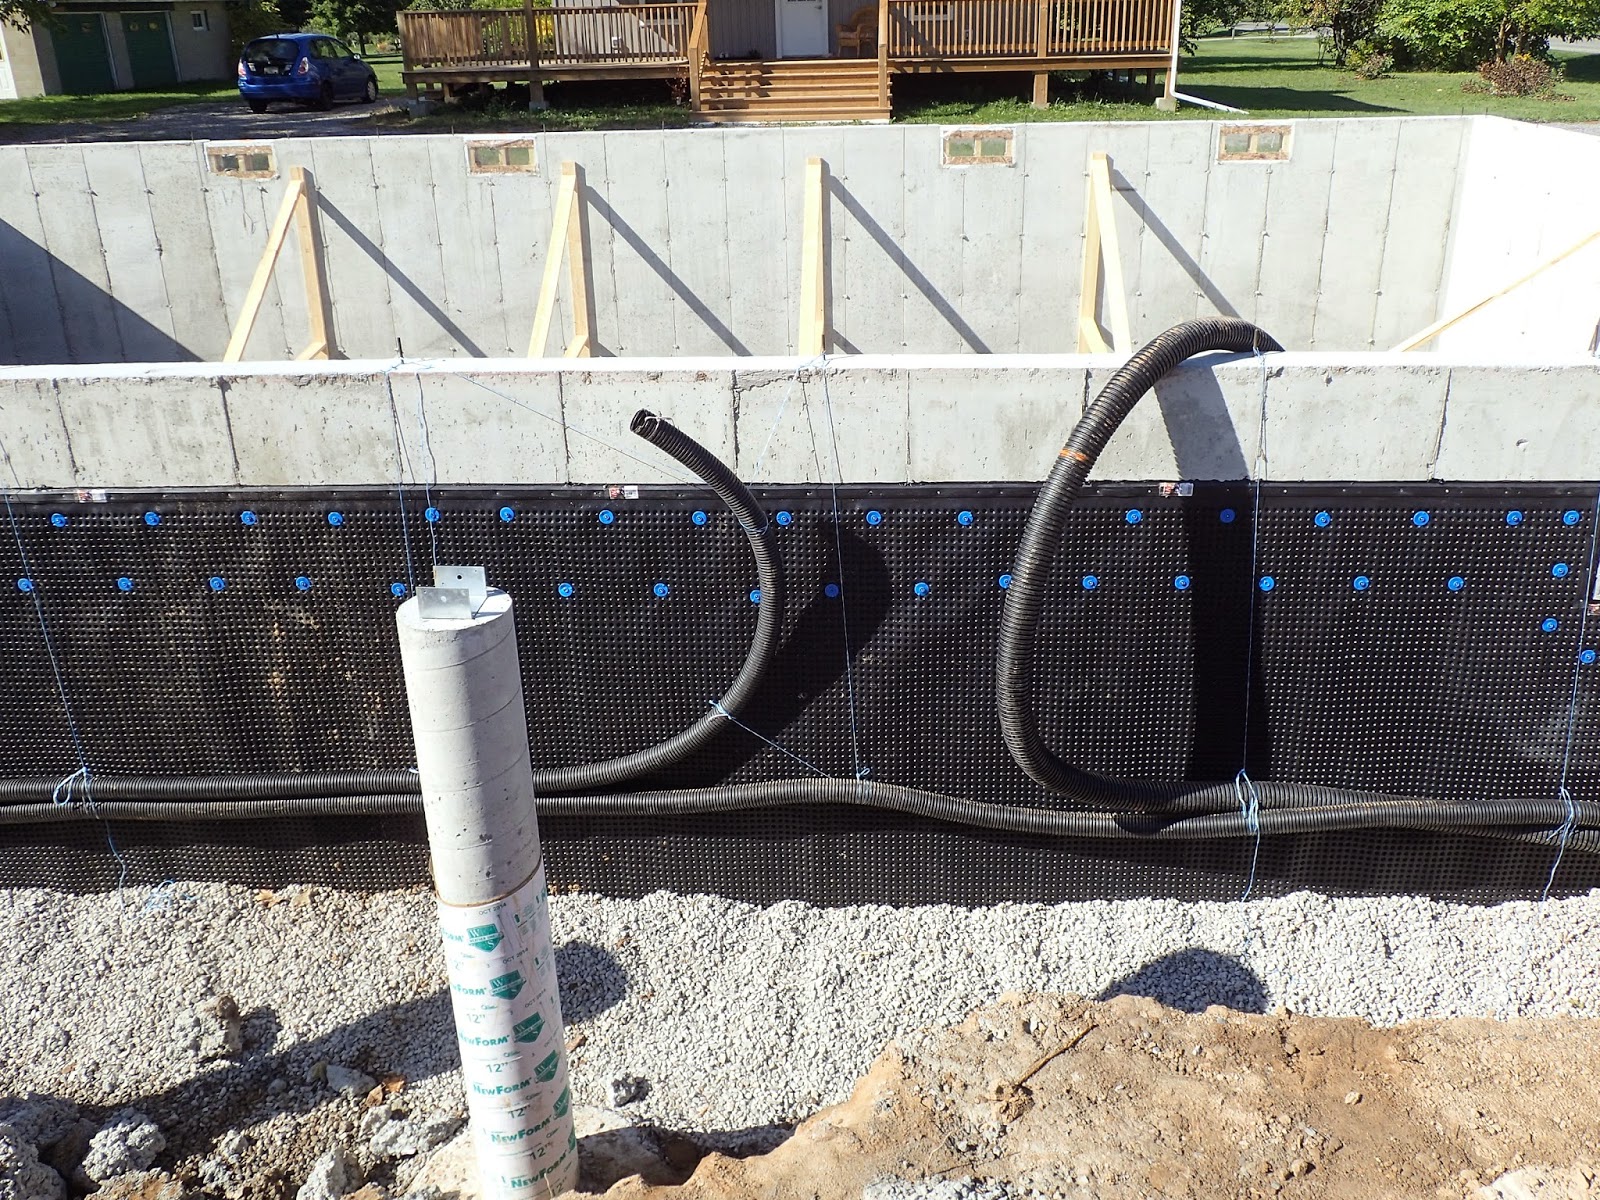
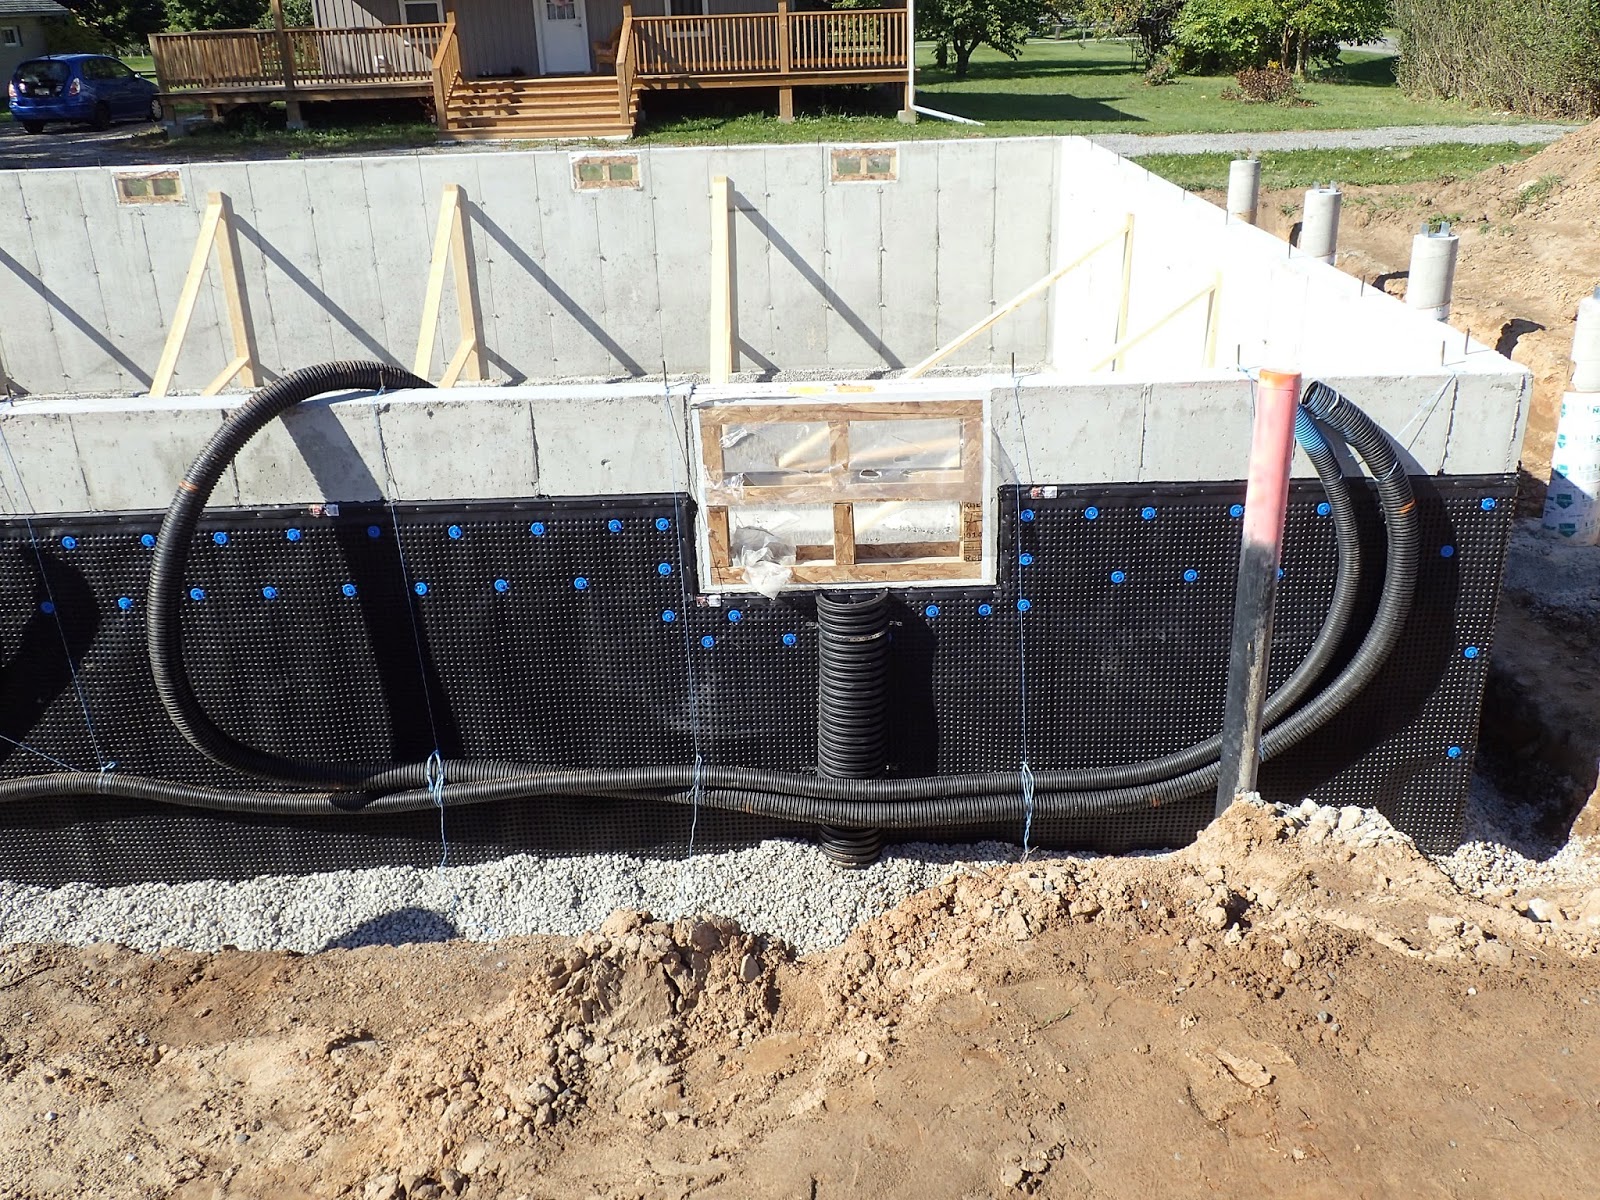
I began this all on Monday afternoon when I installed the Blueskin Membrane on the North wall. From the start it took approximately 4hours to roll on the glue, cut the membrane strips, install the membrane strips and then cover it with dimple material. At least that is the simple story. Prior to this in the morning I installed some braces against the wall for protection during backfilling. I also installed some bracing in the cold cellar to support the platform for when they pour the concrete top on this room. Now back to the waterproofing story. The membrane is called Blueskin and it is a product from Henry Bakor and company. It is a 60mil thick rubberized product with an exterior skin. This product comes in 65ft long rolls 3ft wide. You essentially get about 180sqft of coverage per roll. Along with this you need to use a glue/primer to help adhere the product to the concrete wall.This product also comes from Henry Bakor and is applied to the concrete wall by various methods. I used a roller and paint tray. 5 rollers later the basement was completed, I needed to use a new roller every day as I could not clean them. This glue goes on just like paint however it tacks up pretty quickly and if you try and roll a roller over the dried area it wants to hold onto it. Once the glue is a dry tacky consistency you can start to apply the Blueskin membrane. In my conditions this was about 30minutes or conveniently about the time it took me to roll the glue out over the wall section that I was working on. If at the end of the day you still had uncovered glue area you need to re roll it with fresh glue the next day. I decided to work in chunks that were easily covered by me each day. When I started I placed a chalk line at 18inches below the top of the wall to signal the top of the Blueskin product and where I had to apply glue to. This meant I had approx 78inches of wall to cover. I cut each piece of Blueskin to 80inches so that I would have a small piece that would lap onto the footing below. Once the section of wall was finished with Blueskin I rolled out the black DMX dimple material and nailed to the wall using a cordless fuel activated nailing gun driving 1.25inch concrete nails. This dimple material came in a roll 85ft long and 6.5ft high so it covered the Blueskin from footing to the 18inch line I chalked on the wall. This material was secured with two rows of nails, one 12inches horizontally and and then a second row about 12inches lower, offset by 6inches. This was all finished off with a sealing strip that slipped over the edge of the dimple material and was nailed to the wall at 6inch spacing. Once this was all done I laid down a small bead of sealant at the stop of the sealing strip. And lastly I scraped up the extra gravel in the hole over the drain tile and over the bottom edge of the dimple material such that we had a min of 6inches of gravel over the footing lip and the drain tile. By the end of Thursday I was beat after scraping that gravel. I could really feel all my 54yrs that afternoon. However it was all worth it when on Friday afternoon the Building inspector passed it with flying colours and even remarked it was better than alot of basements she'd seen done by the professionals. So here we have two pictures one showing the Blueskin on the east wall, you can see why it has the name Blueskin. The second picture shows the Black dimple material over the Blueskin. In both pictures you can just see the bracing I was talking about earlier.


On Friday I worked on installing some Big O conduit that will be used as chases for the electrical wire from the meter to the Service panel and for power from the house to the garage and from the garage to the meter base for future Solar panel requirements. This was a pretty simple affair where I essentially hung the Big O along the side the house a min of 3ft below the window wells. When we backfill I will lay a row of warning tape 6inches above these pipes. As well I picked up a piece of 10inch Big O and sliced it in half and then laid this up against the house from the bottom of the window down to the footing and the weeping tile. When the backfilling is down I'll fill these pipes with gravel so that it provides an easy route for any water that gets into the window wells down to the drain tile. In the first picture you can see the smaller Big O on the left that goes to the garage to provide power there. The larger Big O on the right is coming from the meter base and going to where the main panel will be in the Utility room. The small Big O running along the bottom comes from the garage and goes to the Meter base for future use with a possible Solar system on my garage roof. In the second picture you can see the termination of the two pipes on the right where the meter base will be as well you can see the larger Big O that goes from the window to the Drain tile area.
On Friday afternoon I laid a row of 4inch high 6inch wide blocks down the centre of the house on the footing installed there for the bearing wall. This was just a reasonably small masonry job so I decided to do it myself. I'm no fancy bricklayer however I know the basics and have laid a few brick and block over the years. So we carefully laid out the row and snapped the chalkline and laid it down. Then today, Saturday I went into the basement and started to build the central bearing wall. This wall is built up on 2 base plates and then 2by6 studs on 16inch centres from one end of the house to the other end. I kept both ends 1inch back from the wall to allow for a little spray foam to go behind the studs for a better thermal break. I also decided to use Bluwood studs for the bottom plates and the studs for better mould protection just incase we have a slightly damp basement. This was not too difficult other then I kept second guessing myself on what material I would need to use for the header in the 5ft opening in the wall. I finally decided not to do this section until I came home and reread the building code to ensure I had the correct sized header material. Seeing as it is Thanksgiving this weekend here in Canada and the lumber yards will be closed looks like I will not finish the wall until Tuesday morning. Which is also the day they will be backfilling the walls. In the first picture you can see the row of blocks and in the second picture you can see the bearing wall as it stands by end of day on Saturday.


Well there you have it this weeks story. I was very lucky in that I did not get rained out this week. We did have rain in the forecast for Monday afternoon and Tuesday but luckily enough it did not materialize in great volume. This coming week we have some more in the forecast but after backfilling on Tuesday the Framer will start on Thursday and sunshine is predicted for then.
Well no Turkey for us on Monday however the Sister is having us over for finger food. Until next week for all you Canadians happy Thanksgiving and for all you Americans happy Columbus day.
All the best
Harold
No comments:
Post a Comment