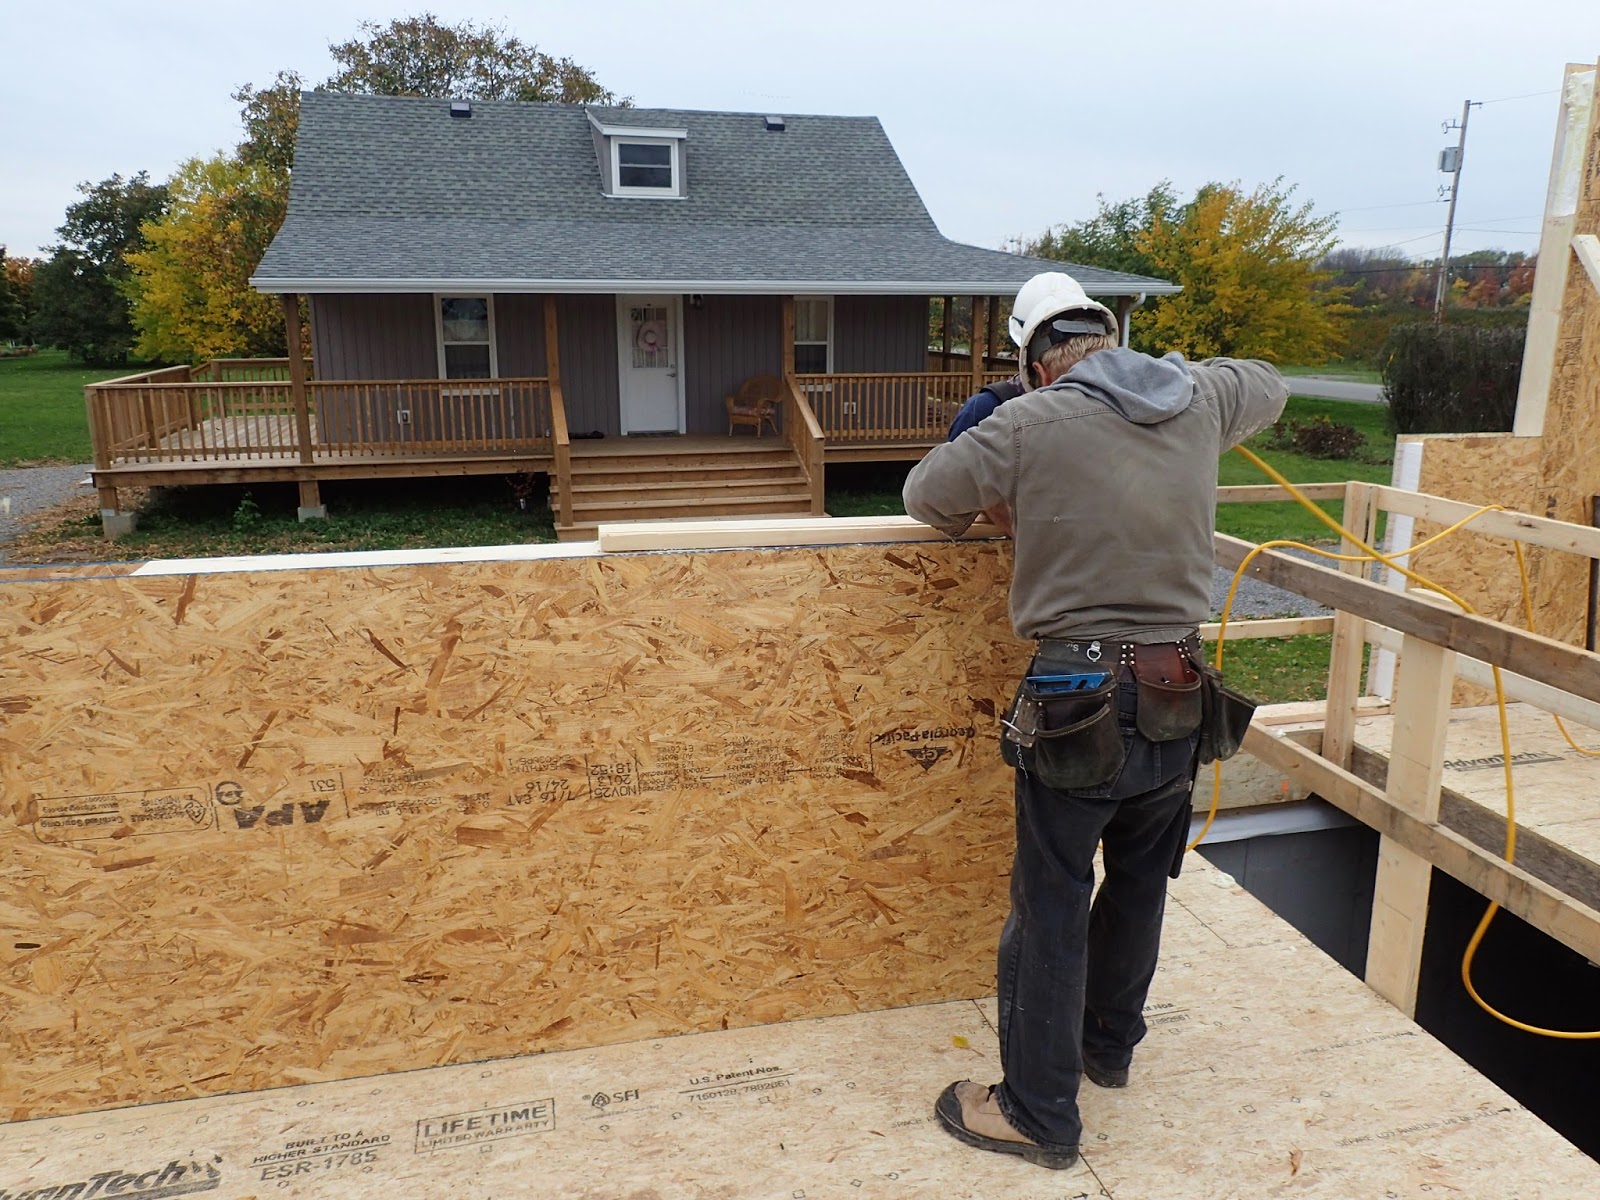
As mentioned last week Sunday we raised the East and West walls of the garage that I had prebuilt. I had delayed raising it on Saturday due to the strong winds we were having. This meant though that we would not have the help of the nephew to raise the walls as he would be working. On Saturday night I had a brainstorm, I have a chain hoist so why not use that with a post to help raise the wall just like professional crews do with wall jacks. So on Sunday morning went to Home Depot and picked up a 14ft 4by4. At the job site I bored three holes in it to make a slot that I could insert some rope that was looped into a 4ply loop that the chain hoist could be hooked onto. Then I installed rope on the top plate in three places and looped that on the other end of the chain hoist. Then while the Brother in-law and I steadied the wall my sister started working the chain hoist and raising the wall. The walls are 2by6 construction on 2ft centres and were 24ft long. To cut down on weight and to prevent them from being big sails there was only one row of OSB nailed to the bottom. Once we reached the limit of the chain hoist, which was about a 45deg angle the Brother in-law and I raised the wall the final distance. The bottom plate was sitting on a couple of small blocks and had been carefully positioned such that when vertical, the anchor bolts and the holes in the plates should line up. We had success with this so then carefully removing the blocks resulted in the wall settling down onto the foundation. We then bolted her down braced it up and moved over to the East wall and did the same thing all over again. A couple of hours and both walls were standing. Here are some pictures showing the operation. First picture shows the hoist in place and in the second one we are starting the lift. Third picture shows me undoing all the ropes and in the fourth we are setting up for the next wall. Last pictures shows results at end of day.


Then on Monday I continued building the back wall. This wall is 32ft long so I broke it down into three sections so that I could raise it by myself. Later that afternoon the Framing crew showed up to begin the wall installation. For those who are really interested I suggest checking out You-Tube for videos on SIP panels. However here are the essentials. They begin by going around the house and laying out a chalk line 1/2in in from the edge. They then nail down a 2by6 to this line allowing 1/2in gap at any corner to allow the panels to fit in. Once done they spray some foam into one side channel of the panel and insert a 2by6 that will sit on top of the bottom plate and be short enough for the two top plates to fit on top. This is only done to the corner panels. They then spray some foam insulation on 4ft of the sill plate and stand up the panel. This panel is then secured to the sill plate by staples or nails, my Framers used a staple gun. While one fellow is securing the first panel the other two were preparing the second panel. In this one they placed some spray foam in the one vertical groove and then fitted in a special spline. This spline is essentially a very small panel that allows two larger panels to fit together. This spline is fitted in the one panel, they then place spray foam into the chase of the standing panel and on the next 4ft of sill plate. They then stand up the second panel such that the spline fits into the first panel and they ensure a snug fit. Again they staple the second panel onto the sill plate and on both sides of the spline locking the two panels together. They continue this all the way around the house. When they come to a window or door opening instead of a spline they insert a 2by6 into the panel groove as jack studs. They then place a couple on the flat both above and below the window and insert small panel sections to fit the openings. Here are some pictures. First one shows my back wall complete. Second one shows the first panel installed and they are working on the second panel. Third and fourth show the installation of a panel. Fifth picture shows them cutting a panel and then in the sixth photo cutting out the equivalent of 2by6 in piece of foam where either a spline or 2by6 stud will go. Seventh pictures shows him installing the 2by6 studs that form part of the window opening.


On Tuesday they came back to finish installing almost all the exterior walls. All they had left were the tops of a few windows and all the upper plates. During that time I started installing my deck beams that would be required to support the posts for the roofs over the deck. As well the roof trusses were delivered. Wednesday the Framers only stayed long enough to finish the window openings and cap the entire wall system. The caps consist of one 2by6 that is inserted into the upper groove of each panel. To ensure a really nice straight wall I substituted the normal 2by6's with LSL 2by6 lumber in 18ft lengths. This engineered lumber is more expensive but is dead straight and will not warp. This piece is now flush with the top of the wooden sides of the panels,. On top of this is laid a another cap 1.25in thick and 6.5in wide. This OSB cap was supplied by the SIP company and is designed to go over the top of the panel edges and help transfer all the truss weight down correctly. Here are a couple pictures showing Truss delivery and then the third picture shows them fitting the LSL plate into the top panel groove.


By Noon on Wednesday the Framers left for another priority job and stated they would be back either Monday or Tuesday and would then stay until the job was finished. For the rest of that day I worked on the Garage getting it ready for the trusses to be installed on Saturday, One issue that came up was when I was setting up the bottom plates I noticed that the two concrete stub walls between the door openings were a little lower than the main walls by upto 3/4in. This meant I would need to cut each stud separately to ensure a straight top plate. So I carefully stretched a string across the 32 ft opening as tight as I could and then measured out each stud length. The end result was a straight top plate. Here is a picture and if you look carefully you can see the string I am talking about.

On Thursday I had a quieter day and all I did was lay out the interior walls and cut and measure the upper and lower plates for these walls. They are now ready for the Framers next week. Friday was more work on the garage installing the second row of Sheathing and finishing up some of the work on the deck beams calculating where the posts would be and securing them to the saddles with screws and lag bolts.
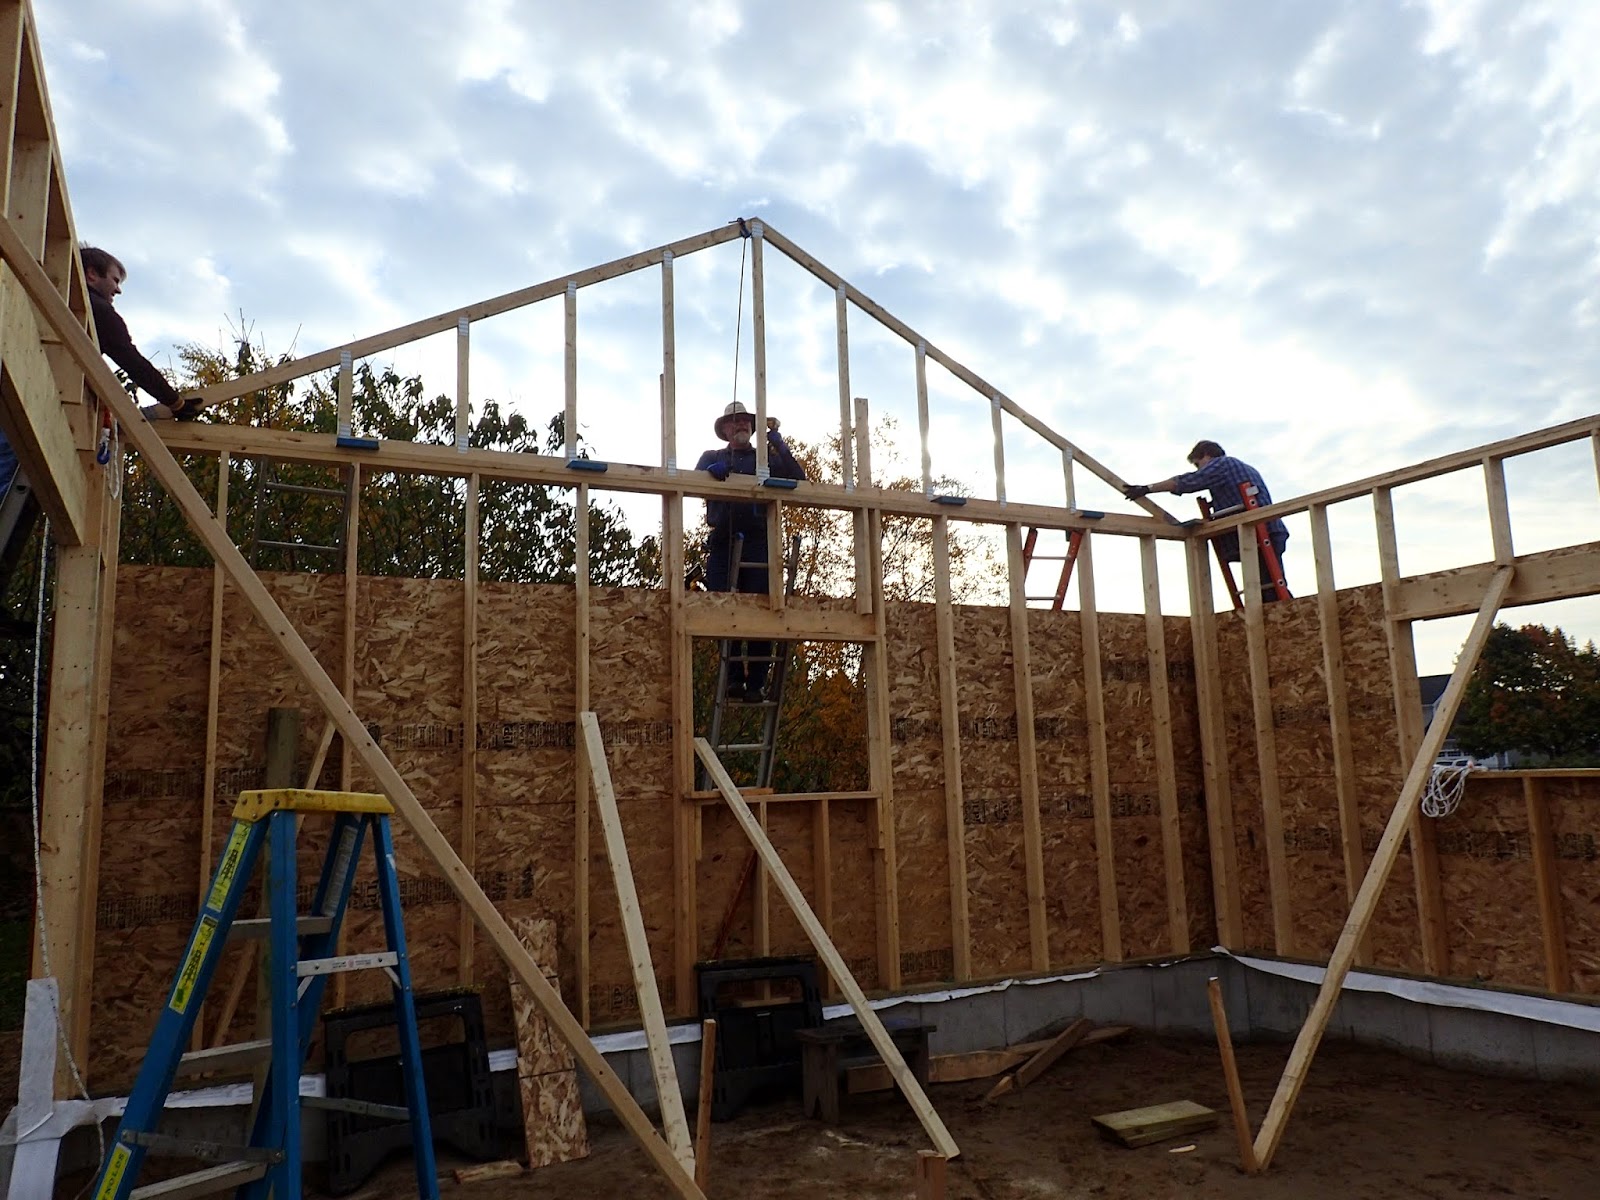
Now we come to the Grande Finale of the week, installing the trusses on the garage. Again the Sister and Brother in-law came over to help and this time we managed to snag the nephew to help as well.
We started around 0930 and by 1430 all 15 standard Trusses along with two Gable end trusses were installed and braced temporarily. We accomplished this by bringing each Truss into the garage upside down and then placing one rafter tail onto one wall. The Brother in-law had this end so he would go up the ladder on the outside and hold the truss in place. The nephew would go up the opposing end on a ladder and by use of a rope pull up his end of the Truss. The sister and I would help raise the Truss from inside and once it was hanging upside down on the sills she would go outside to the one end of the garage where a second rope was hanging that would go over the trusses and come into the garage. We then hooked this rope up to the Truss peak and she would pull on this rope to assist in flipping the Truss to the vertical position. Prior to this happening I climbed a ladder leaning against either the wall or the last Truss in the middle to also assist in flipping the Truss and to nail it down with some bracing so that it was on 24in centres and to prevent it from flipping down again. Once these braces were nailed down I would go up the ladder on one end of the Truss to nail the rafter tail to the sill plate with toe nails and once complete go to the other end and do the same. Once secured we started the cycle all over again. The only change was that the last three Trusses were brought in with peak upright and manhandled into place that way. Once we got near the opposing end wall there was no room to flip the Truss. Although slightly faster getting the Truss on the roof it was also much more awkward. Here are some pictures of the job. The first two pictures show installing the first Gable end Truss. I had prepped this by installing small blocks that allowed the Truss to sit in the correct spot and were also used to nail the Truss down to. I'm in the middle the nephew is on the left and the Brother in-law is on the right. Next two pictures show us after we are about 1/3 done. In the Fifth picture I am nailing down one of the last rafter tails and in the sixth picture we see the sister getting ready to help guide and lift a rafter into place. The last picture is the standard "Hero" shot where the helpers stand in front of the work they just did. Unfortunately the Sister had already walked home.


.jpg)


And so ends another week on this project. Over the next week I plan to finish sheathing the garage and possibly start working on roofing it. The Framers should finish the house. Then the next contractor will be the plumber and the roofer. I have the Brother and his family coming down on Monday to visit with Mom and check out our project. He's bringing a strapping young lad along and has already offered to assist for a few hours. So we'll see what projects we can get them to assist in.
Well until next week, take care and Happy Halloween. Remember be careful out there on Halloween night there will be a lot of small kids walking around.
Harold
No comments:
Post a Comment